Here’s another AKG K240 repair job. I took on the job of repairing my friend’s headphones after they had already been repaired once. Since I had a good experience with repairing mine I thought I’d give it a try. Here’s how it went:
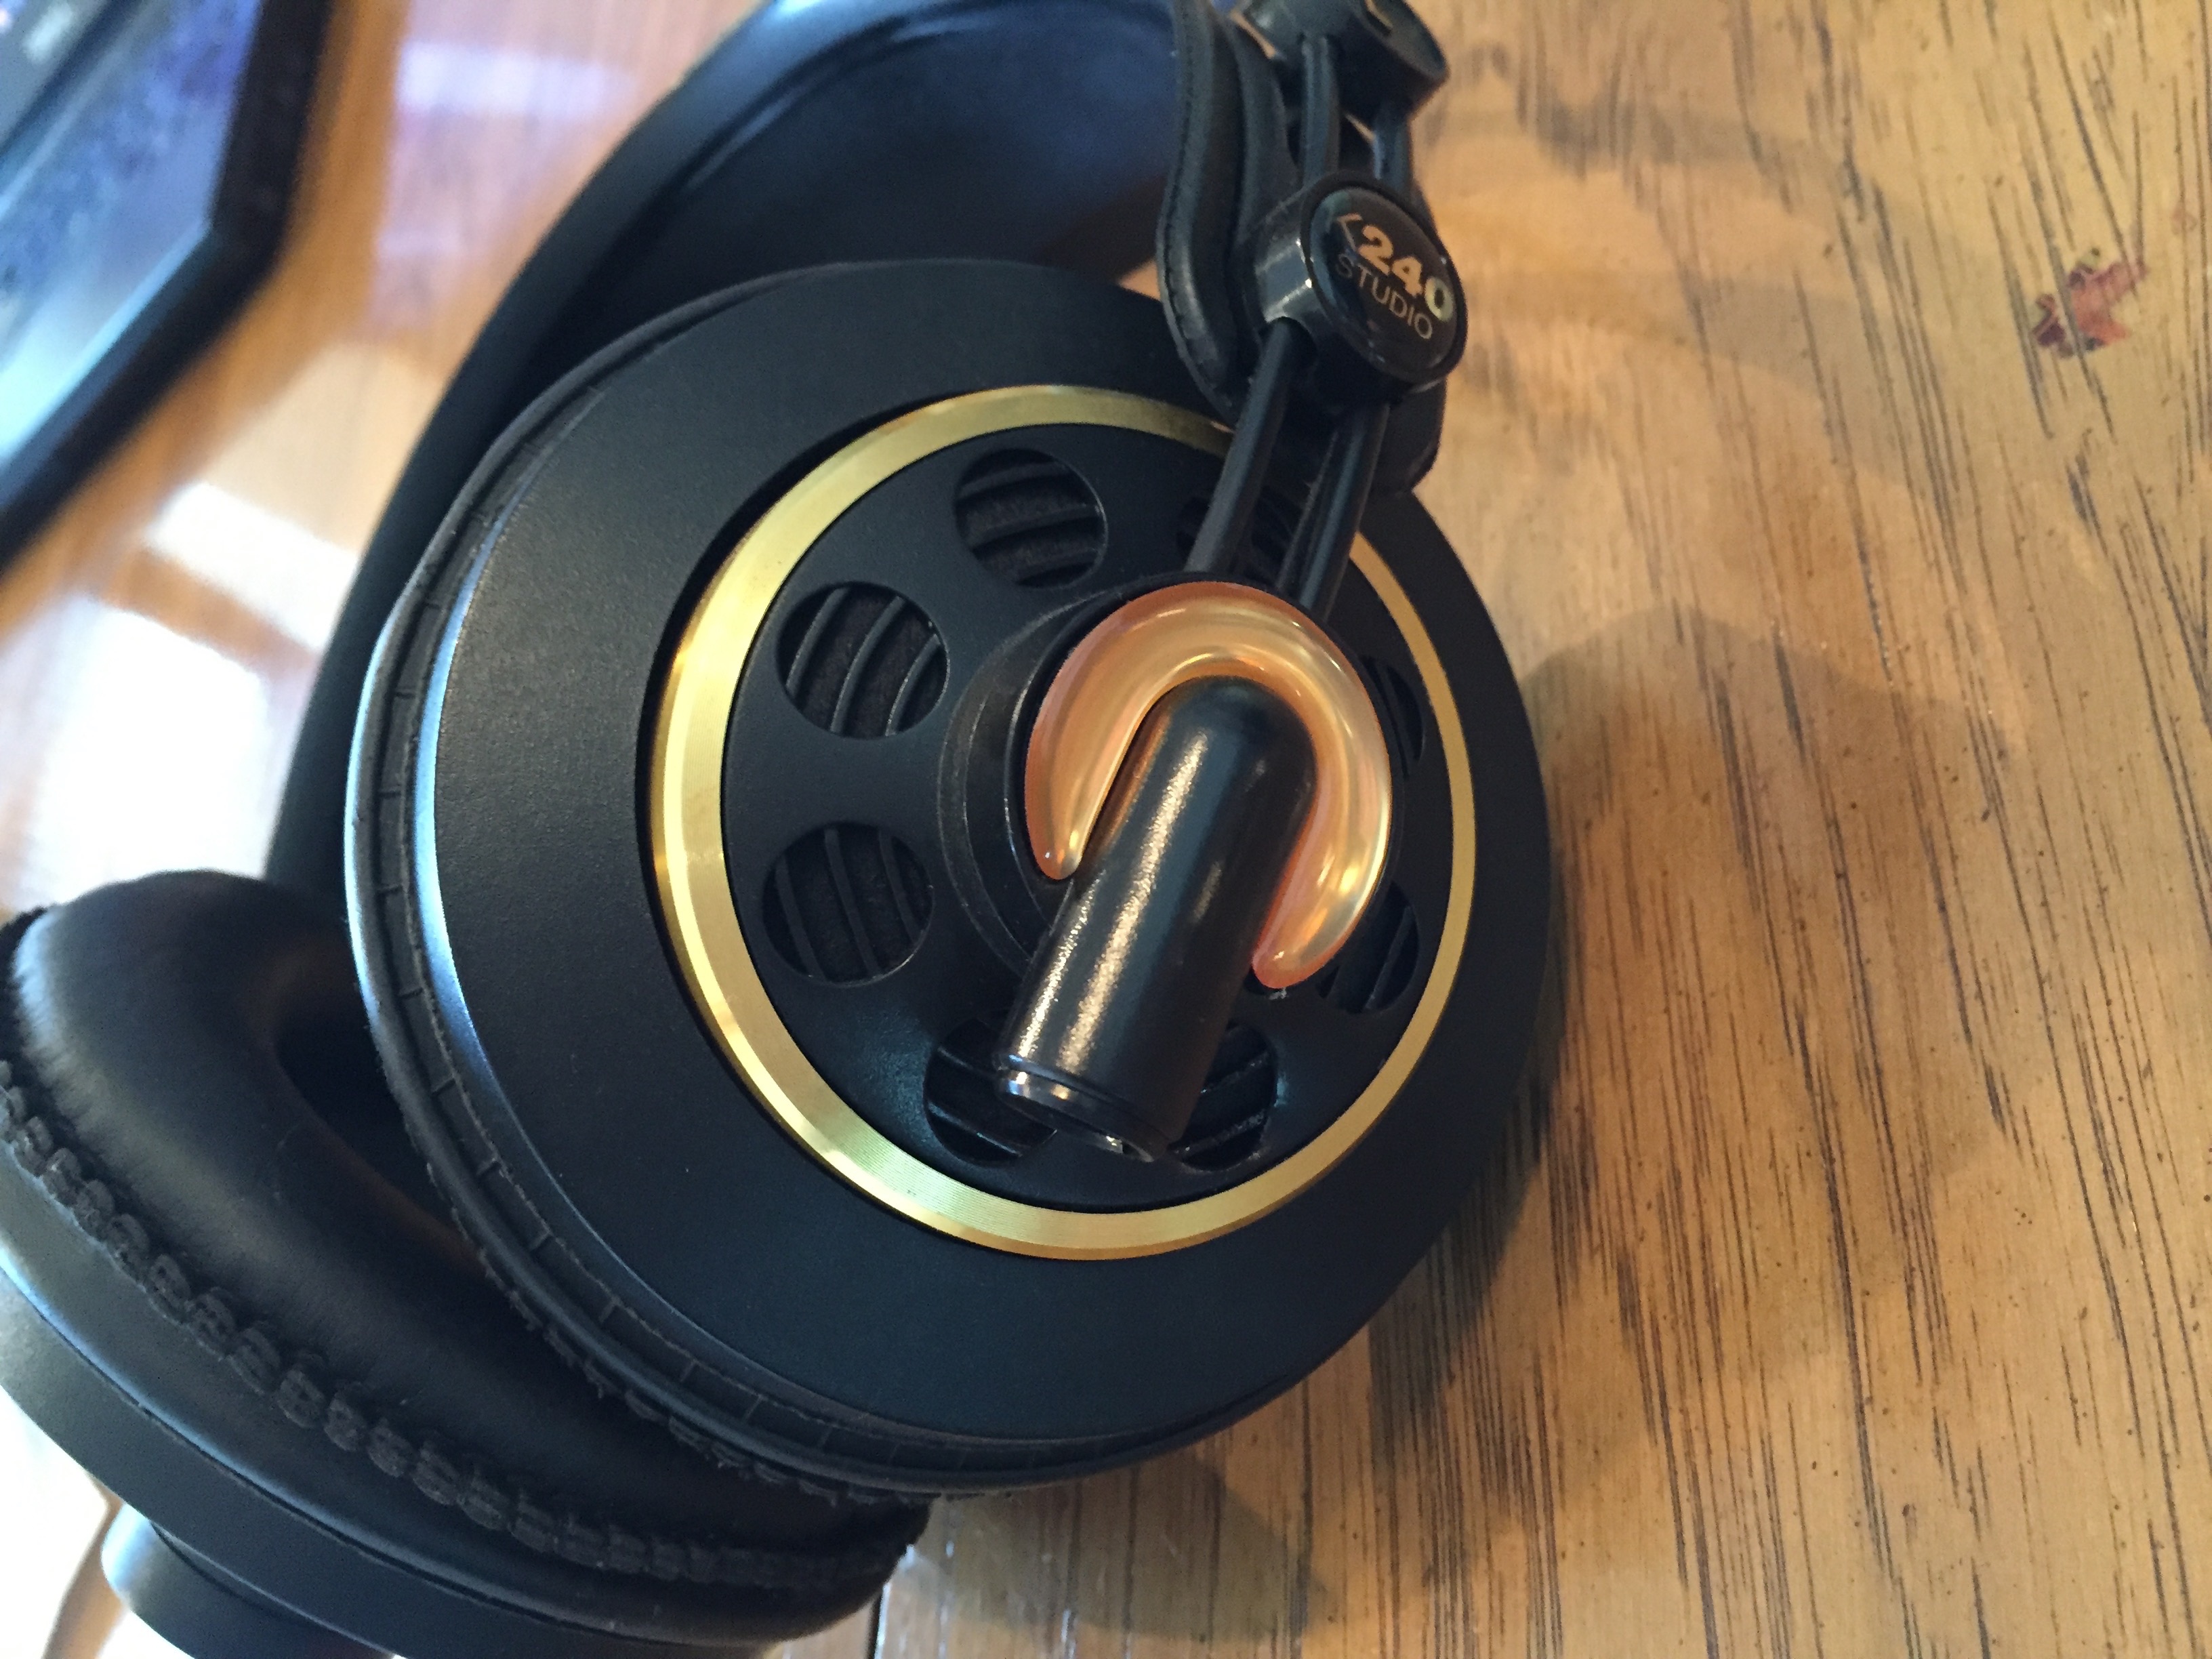
After removing the “emblem” cover:
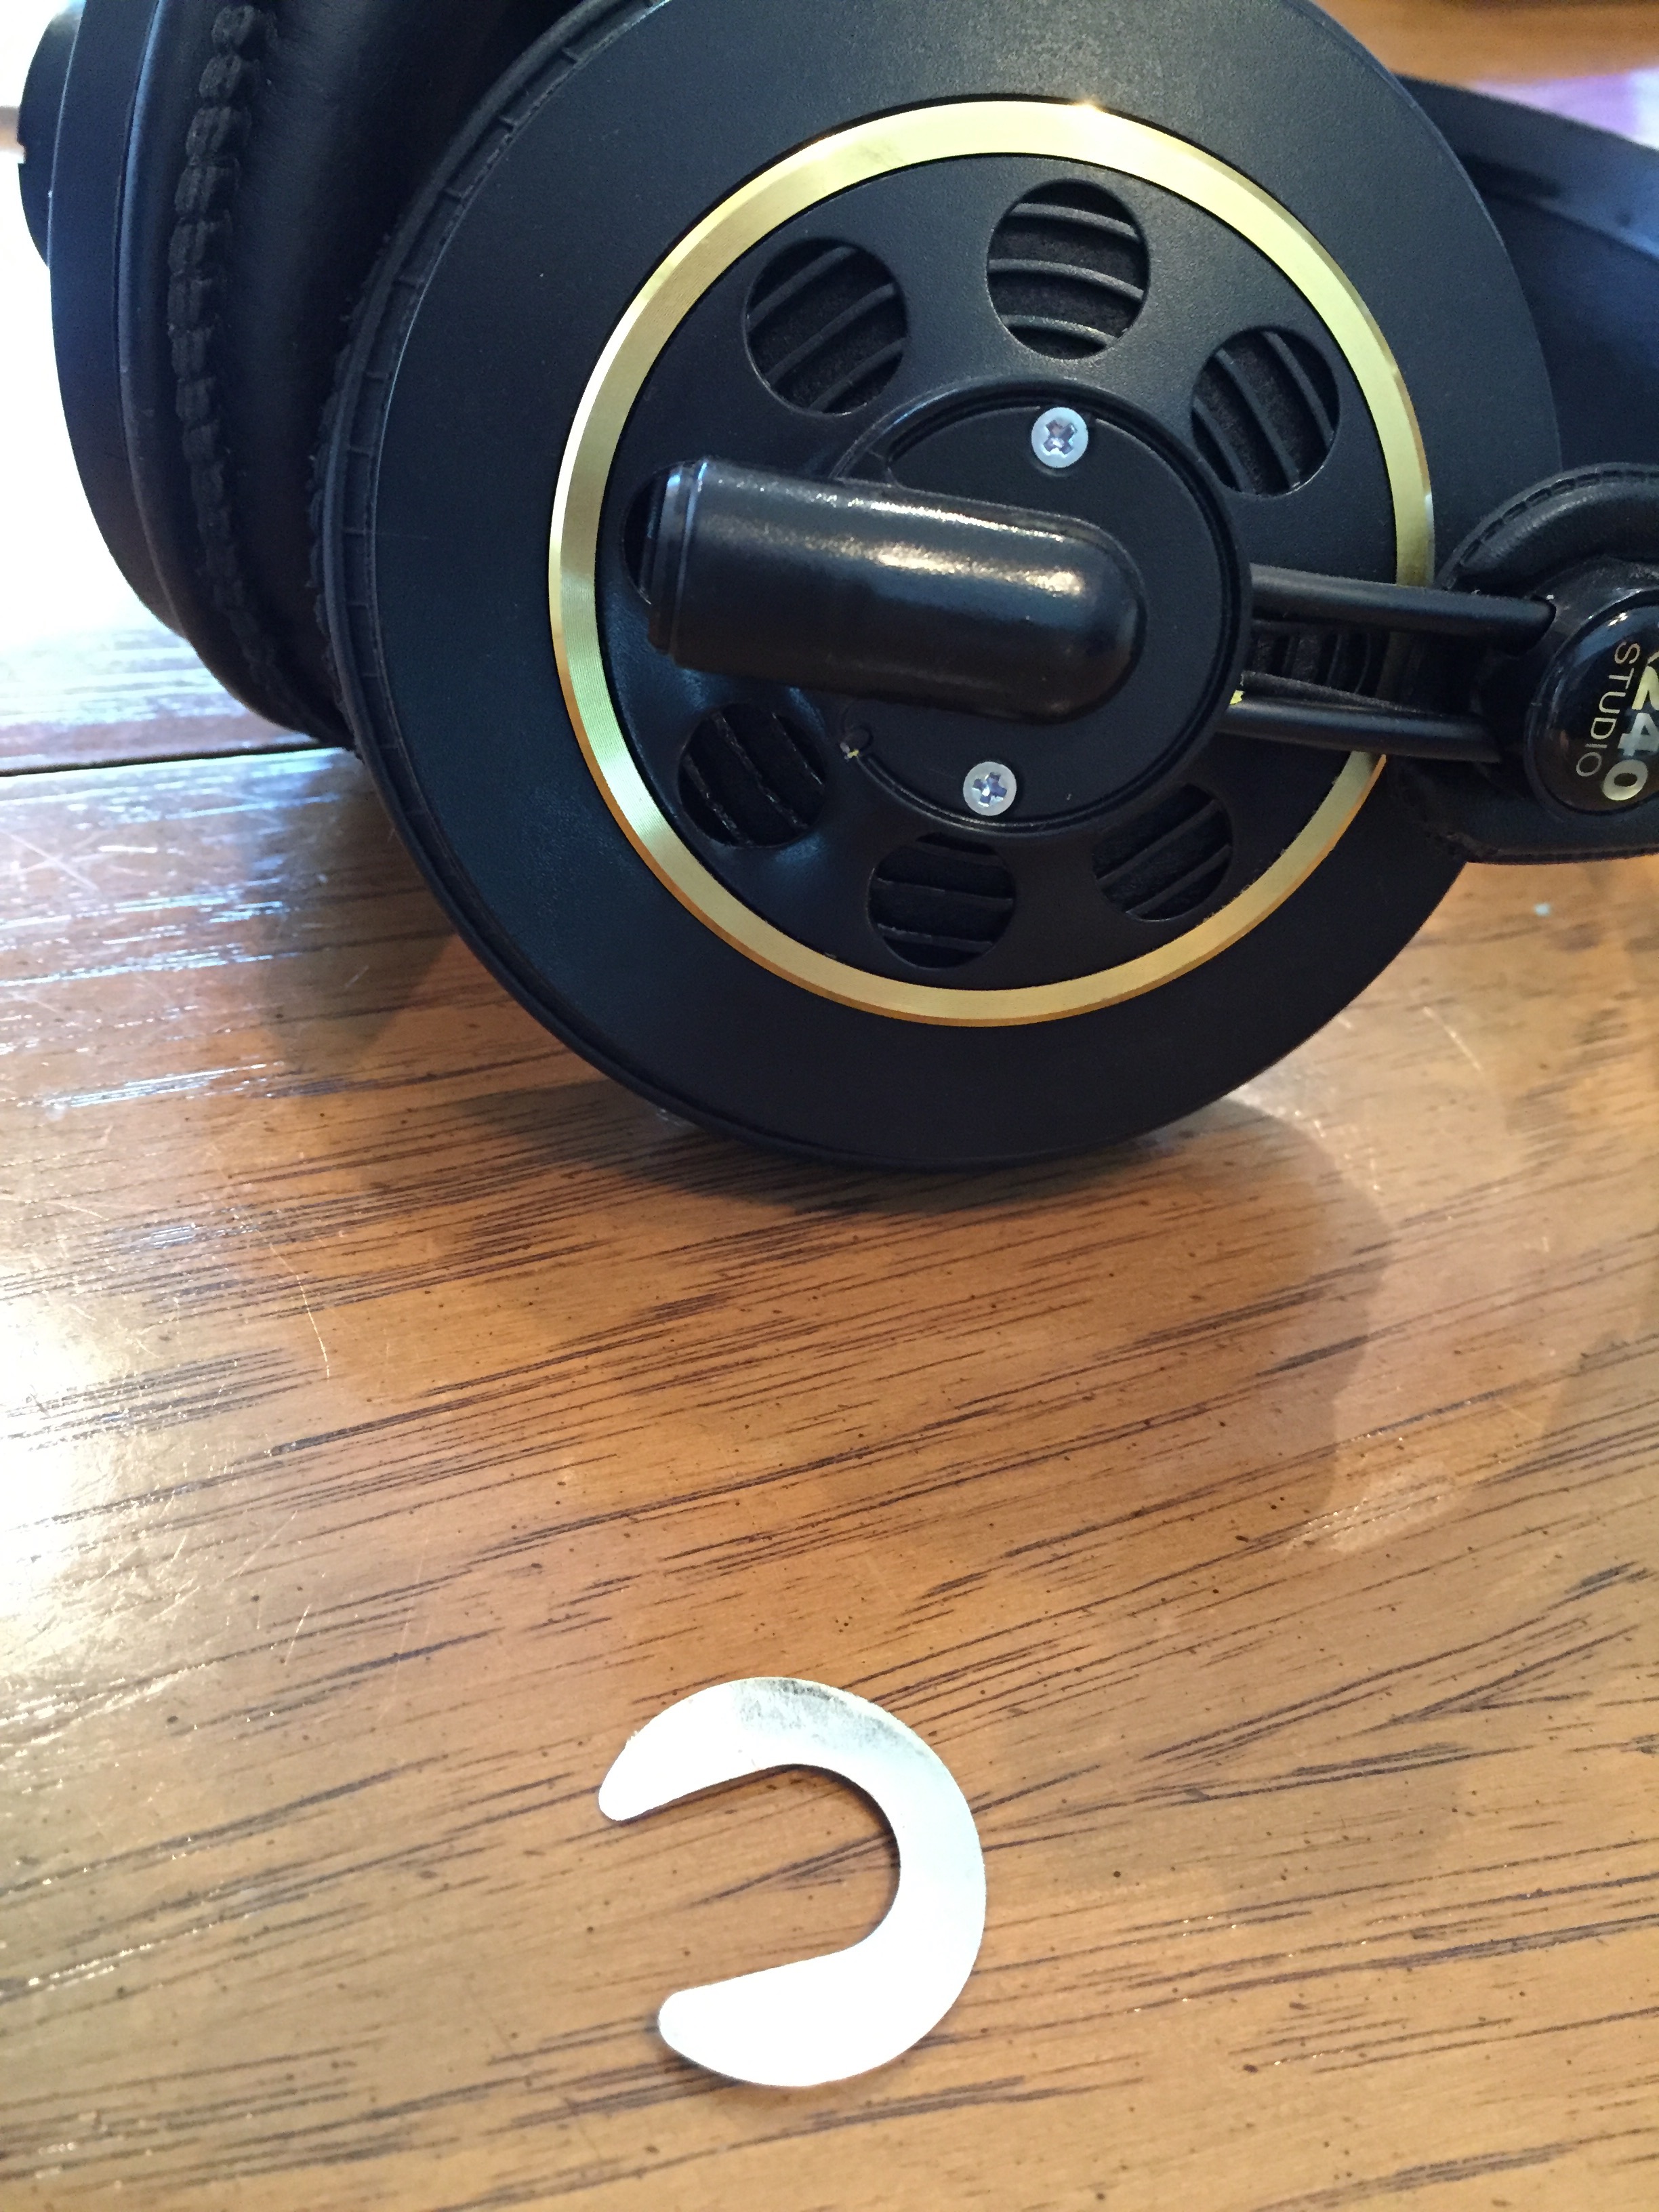
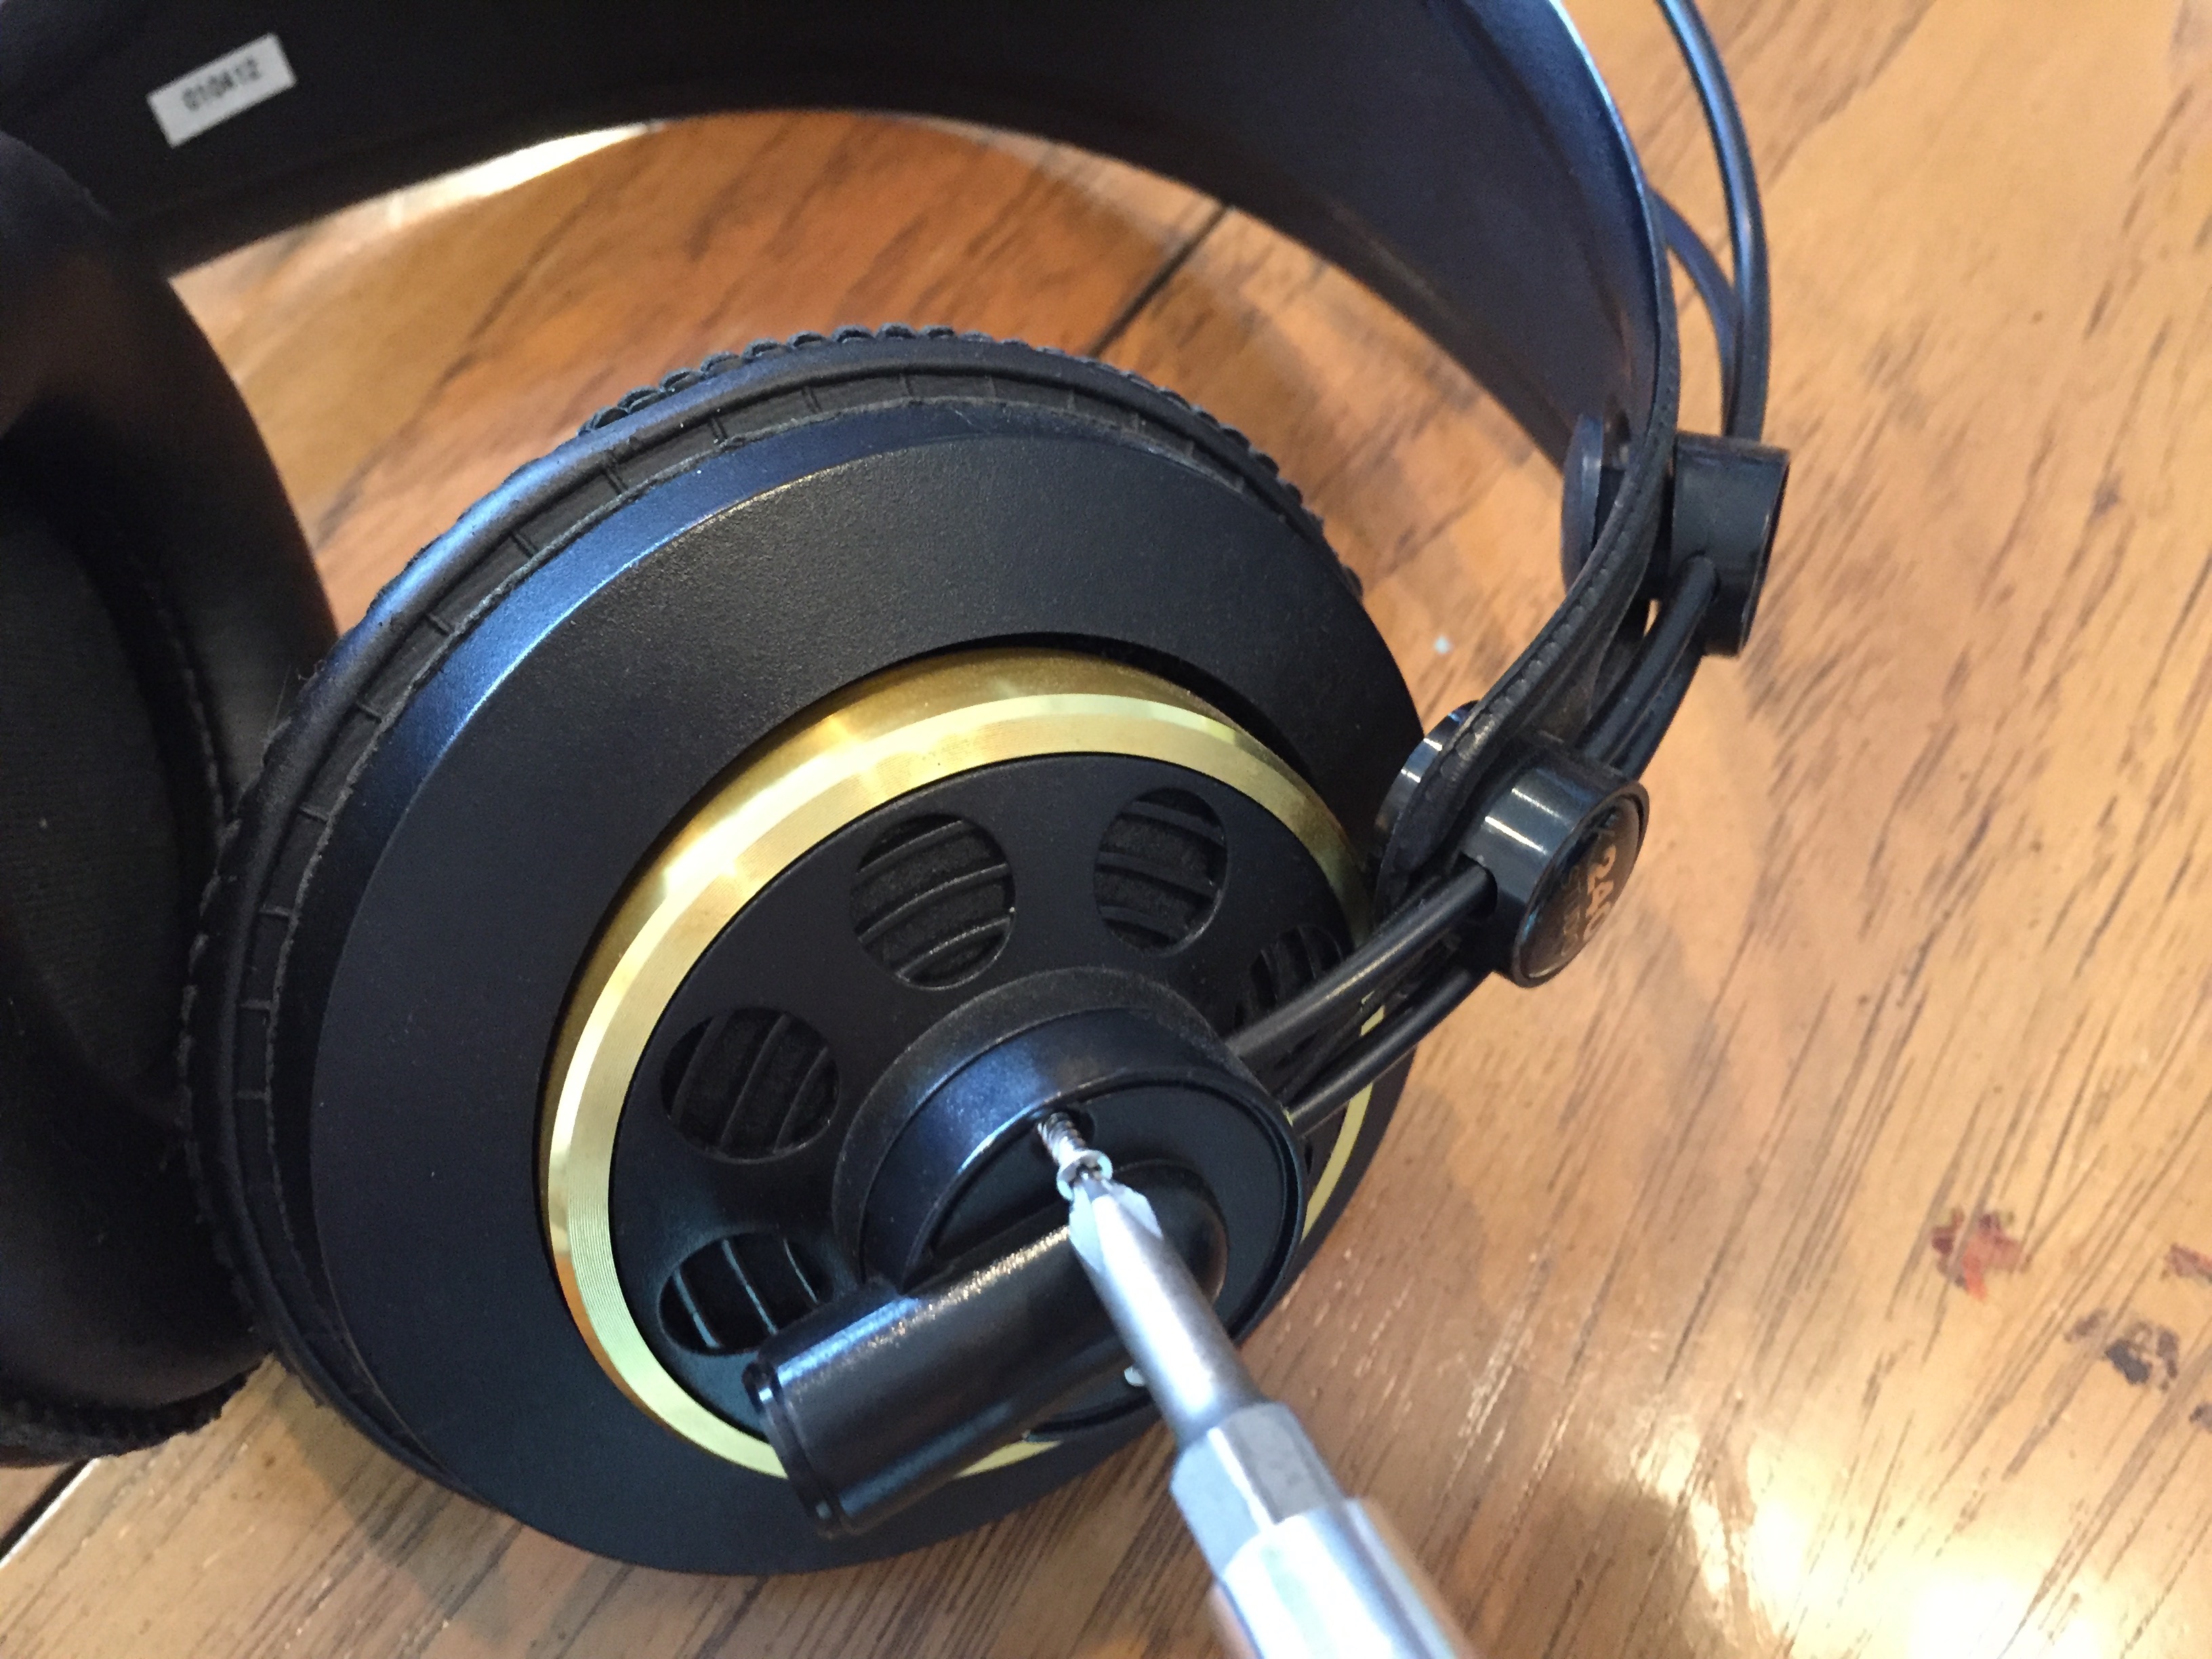
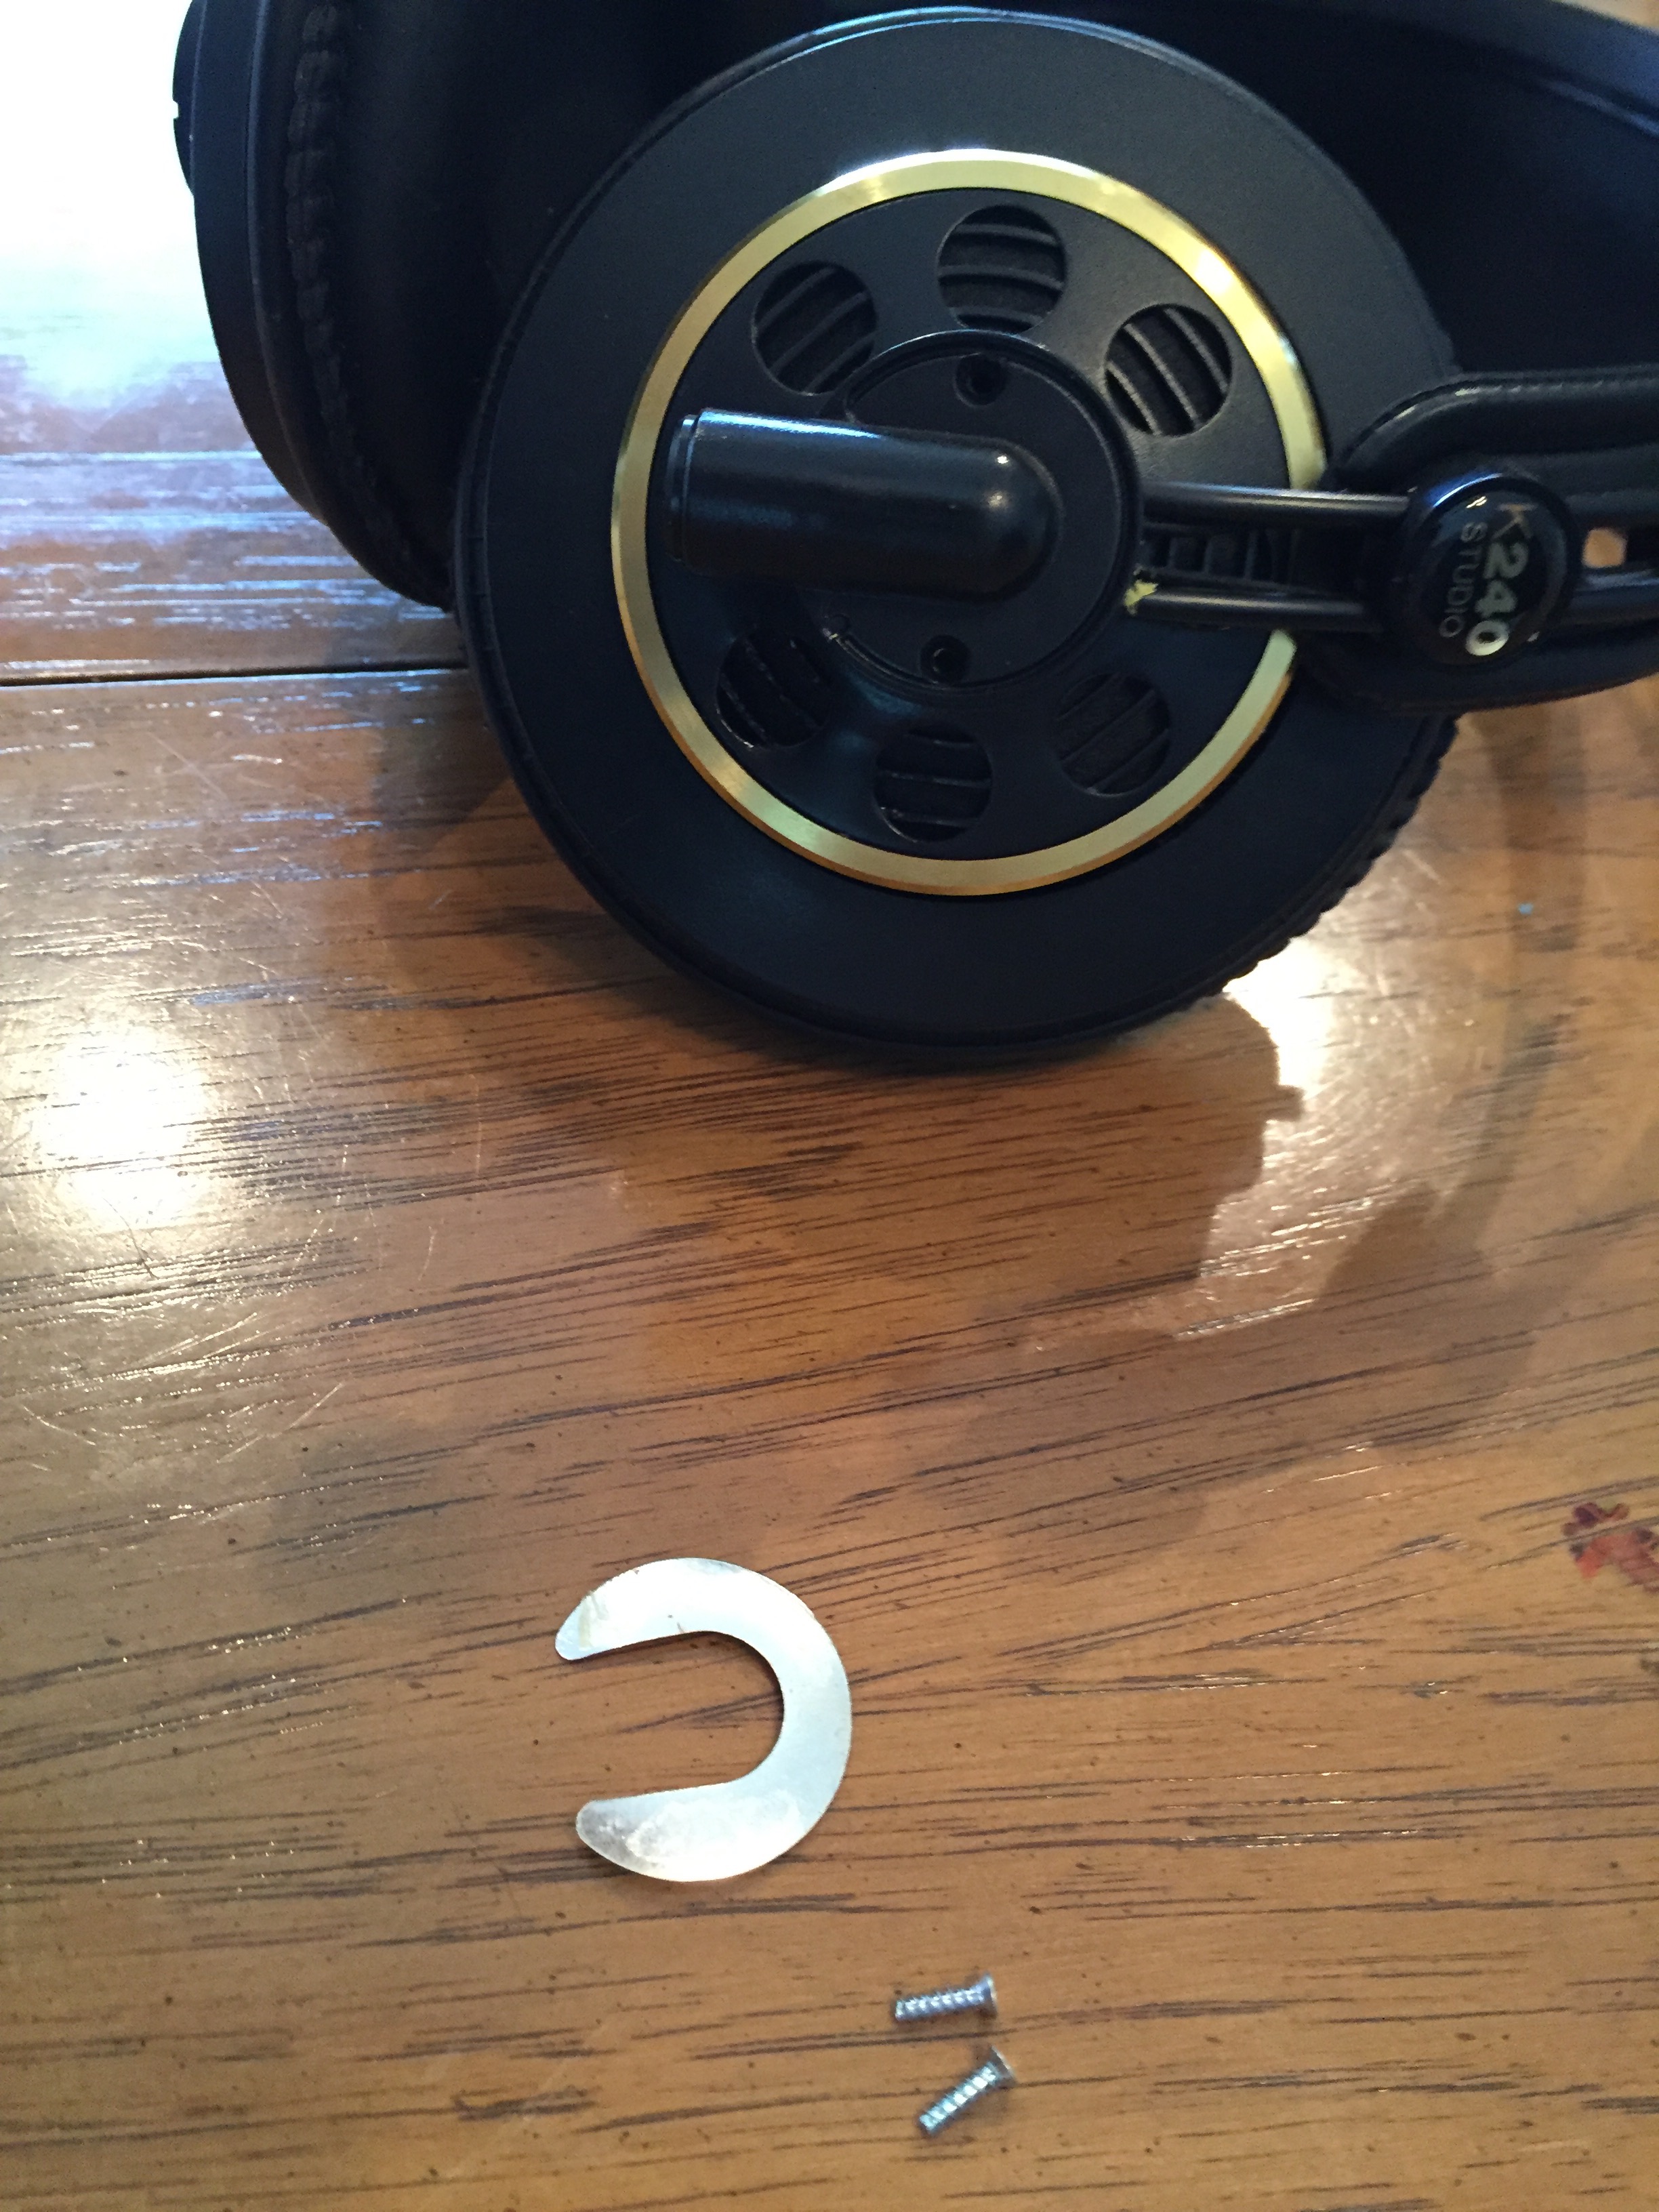
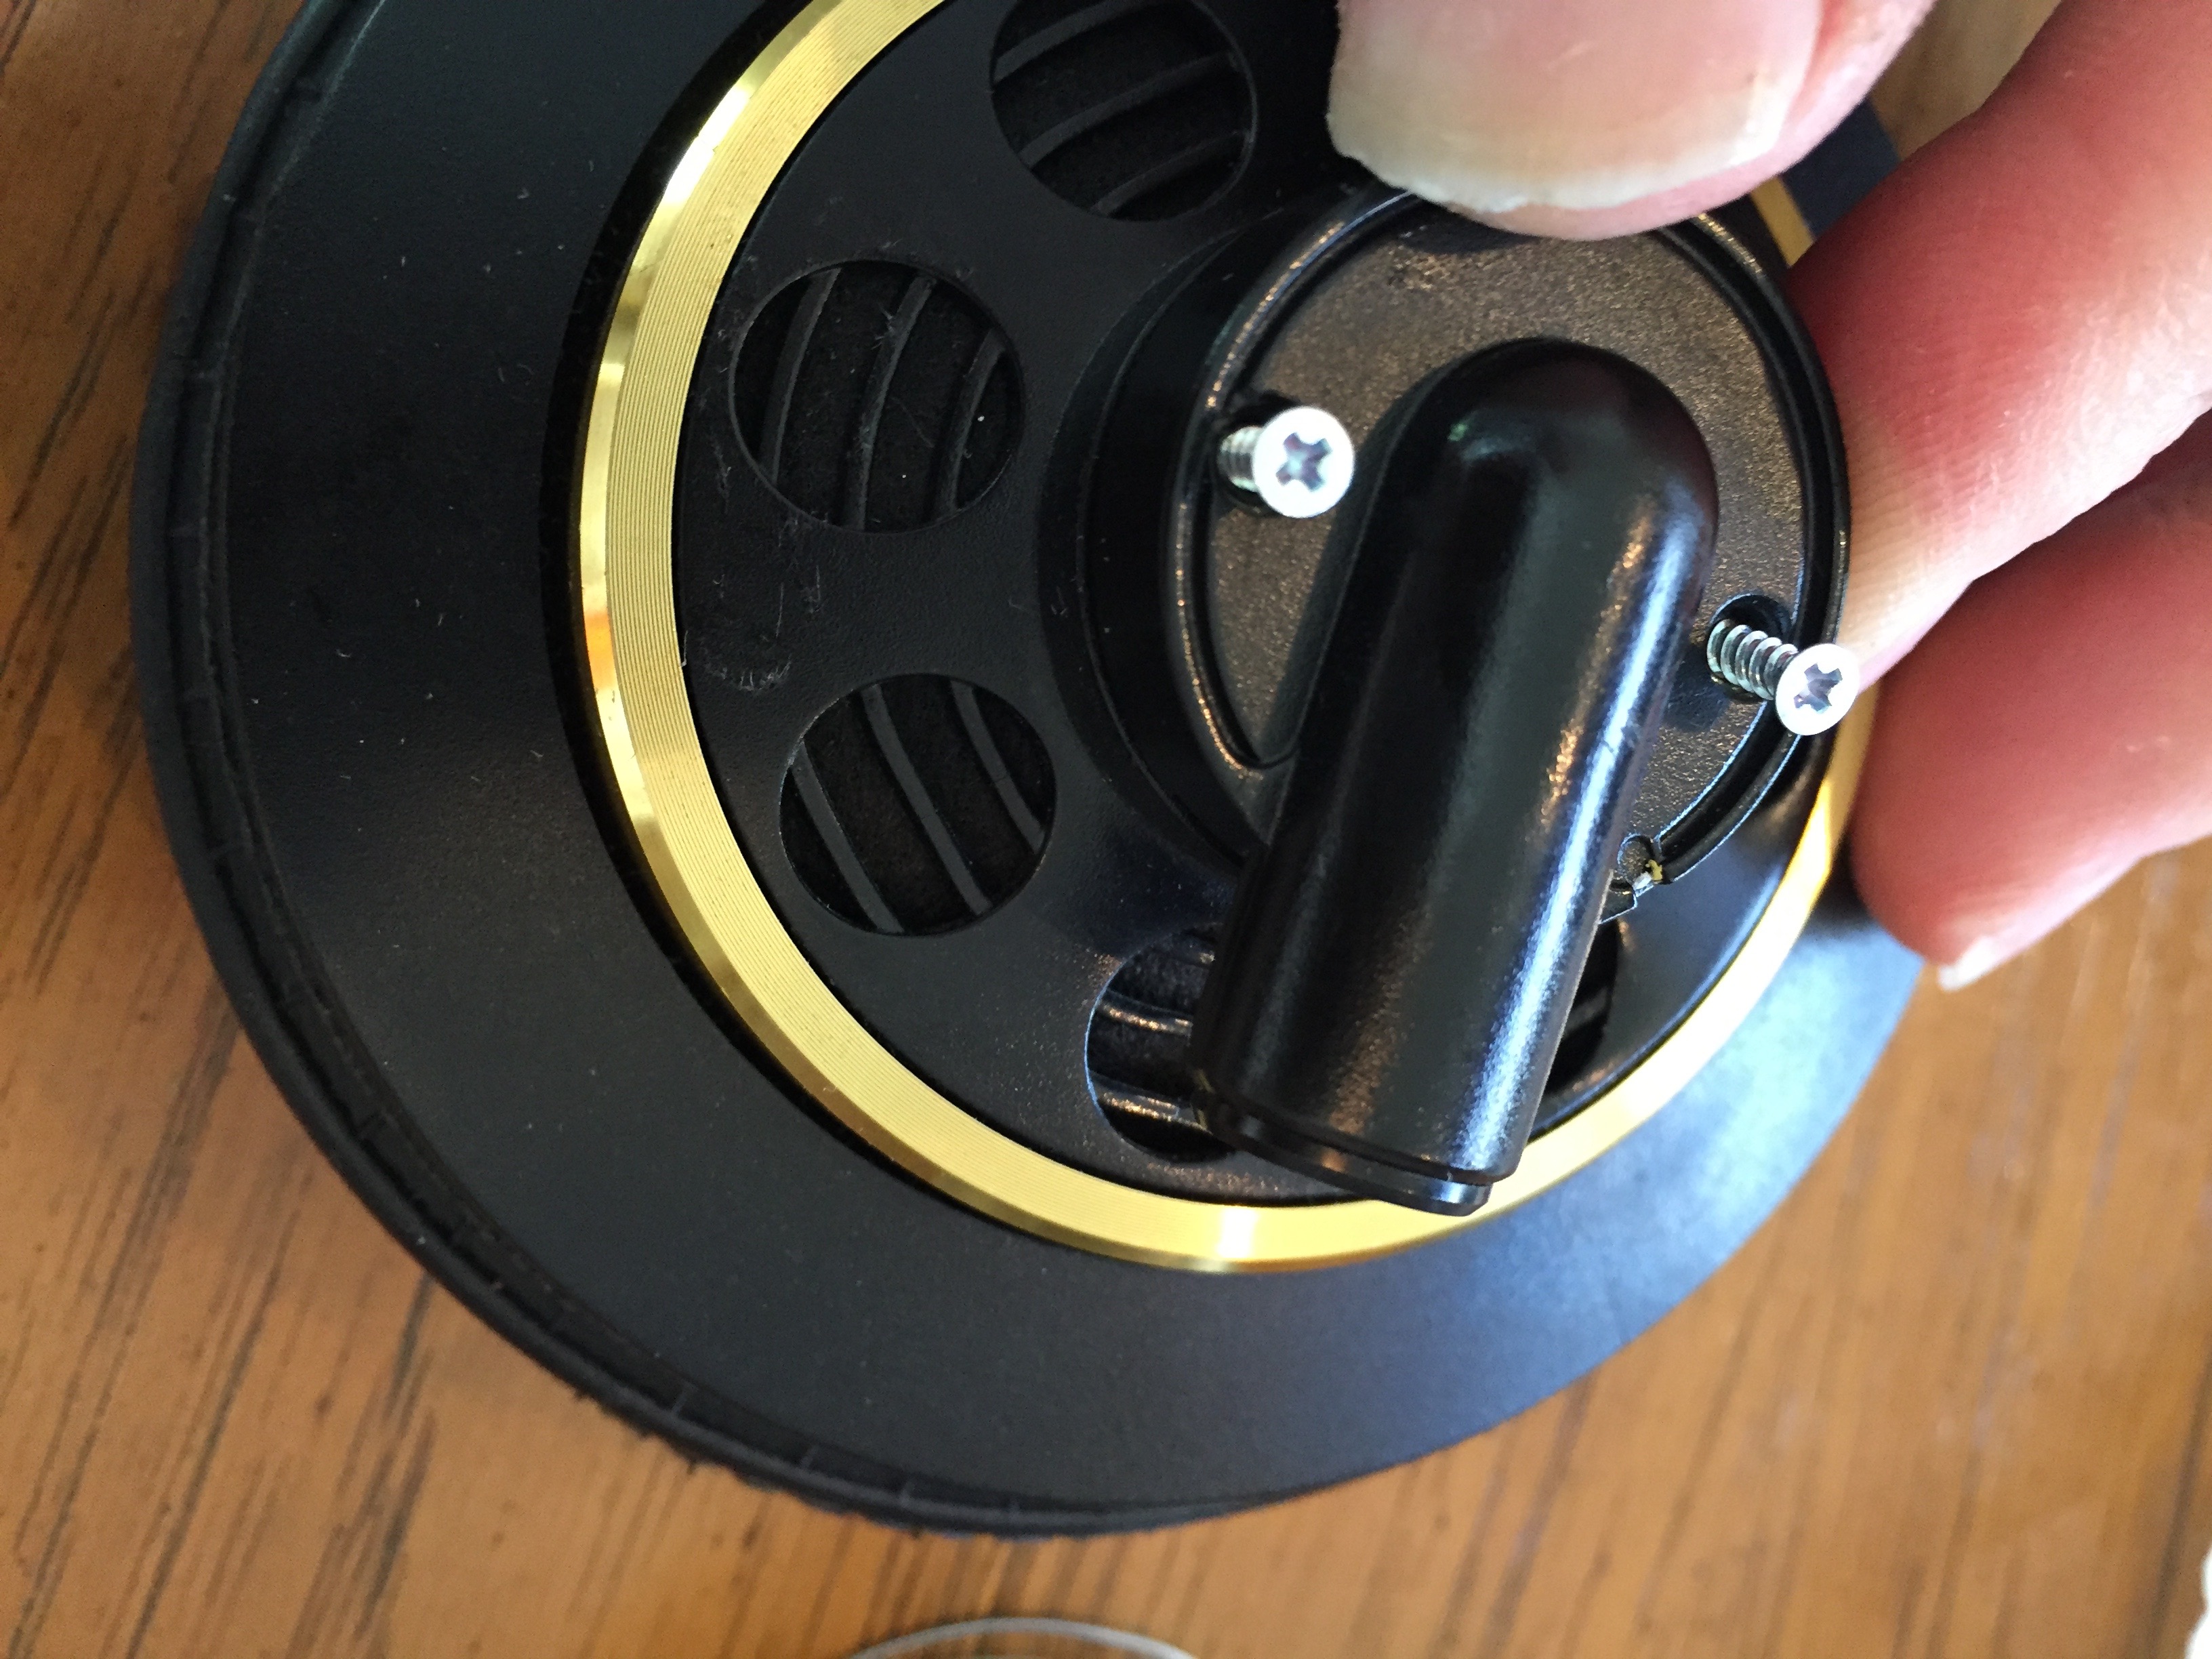
Take out the two screws
Ready to open:
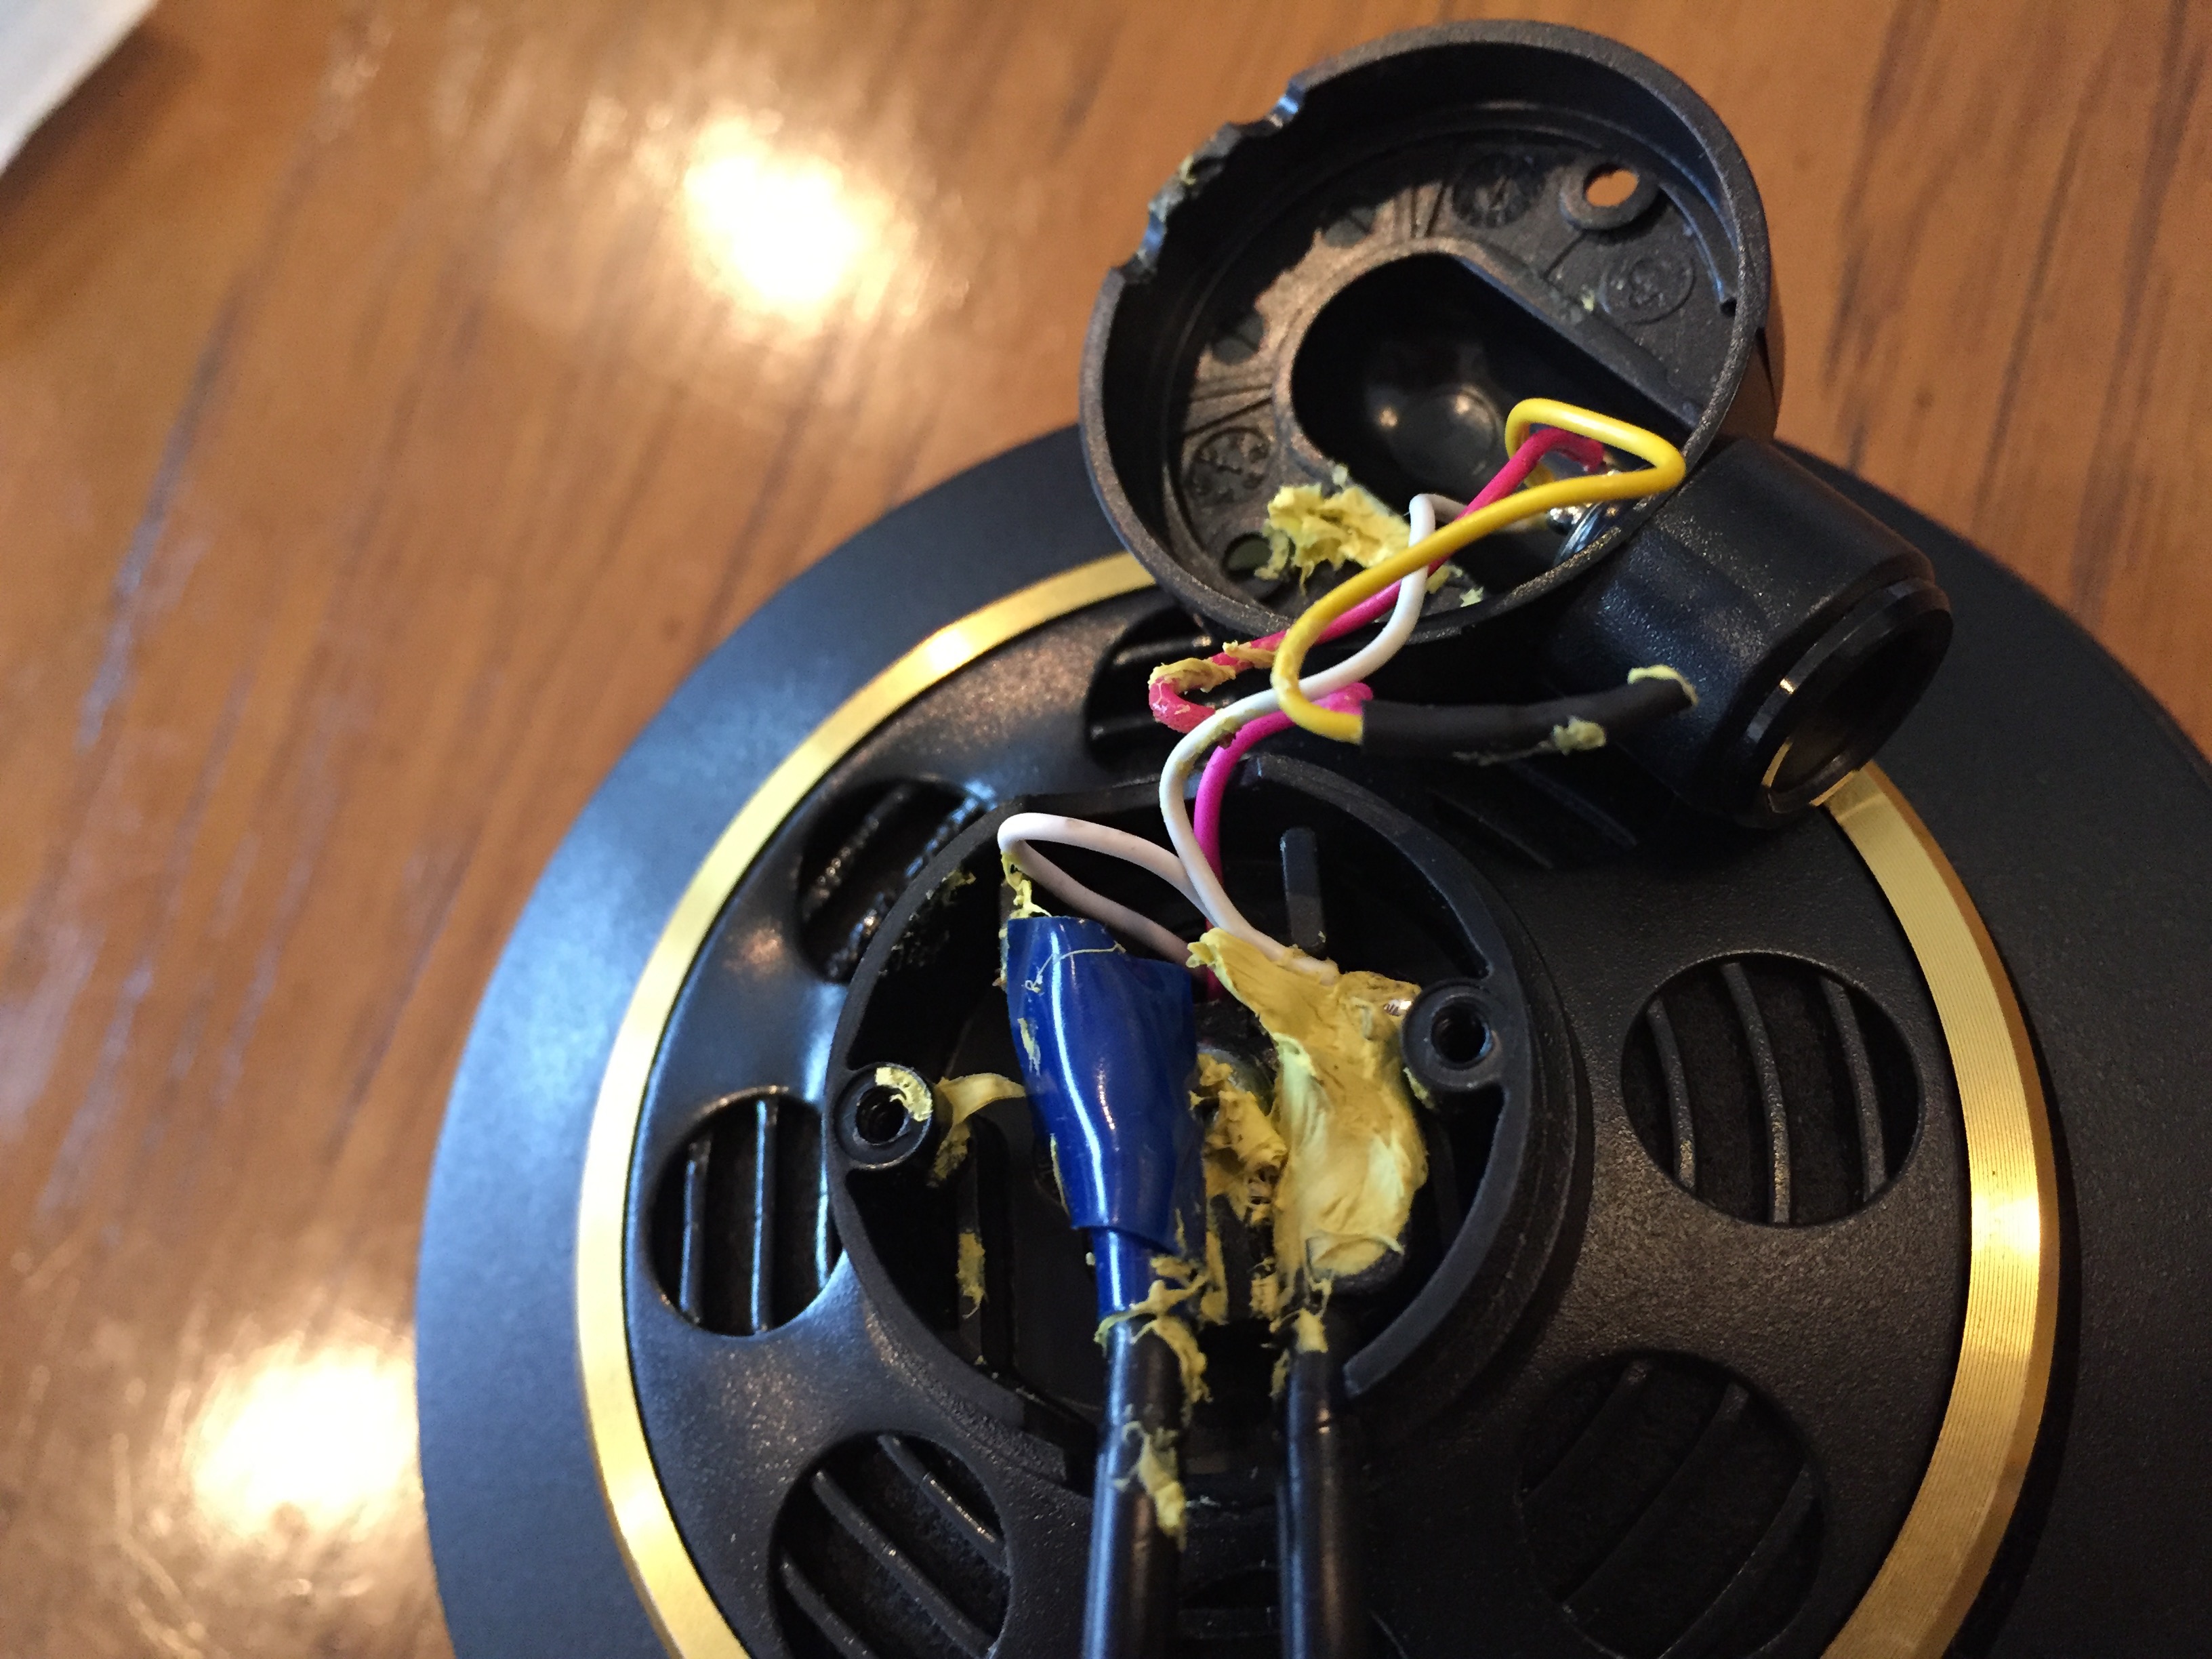
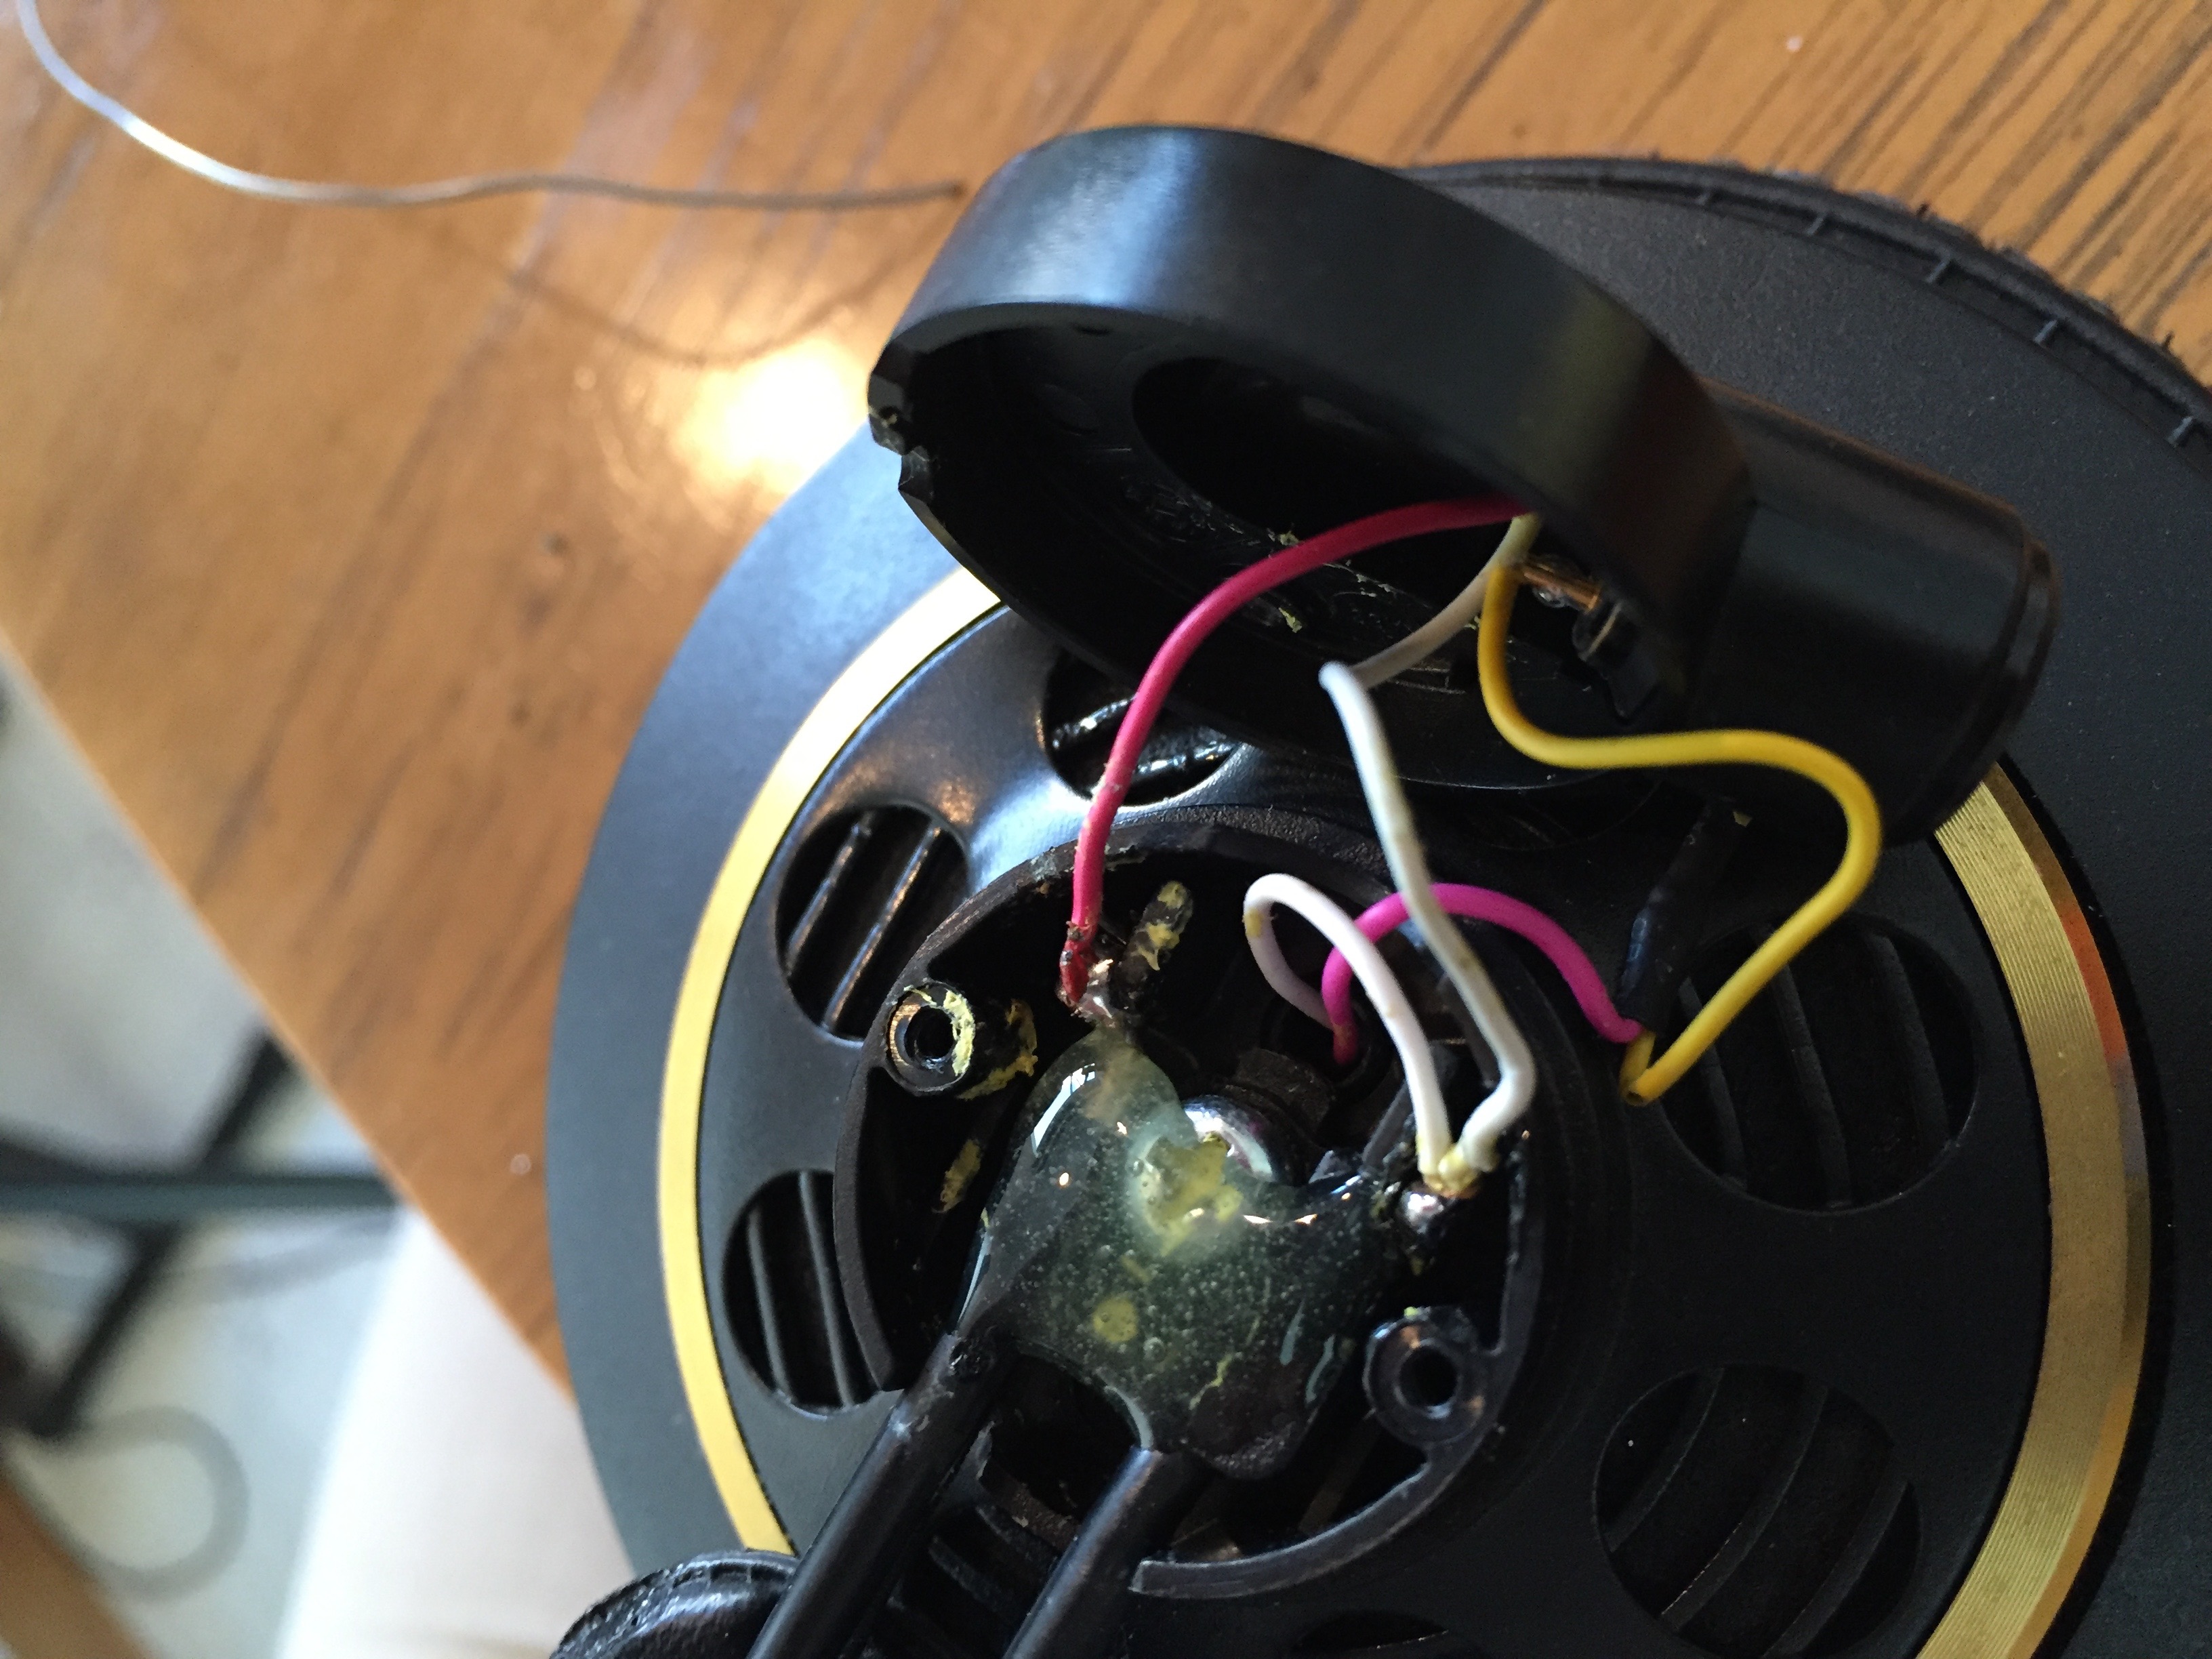
Apparently, the previous fix used some sort of putty or chewing gum to hold it all together. Unfortunately, the bars and wires could still move around and one of the previously repaired solder joints had failed again. So I took out all the gum and got the epoxy ready.

After getting some of the gum out:
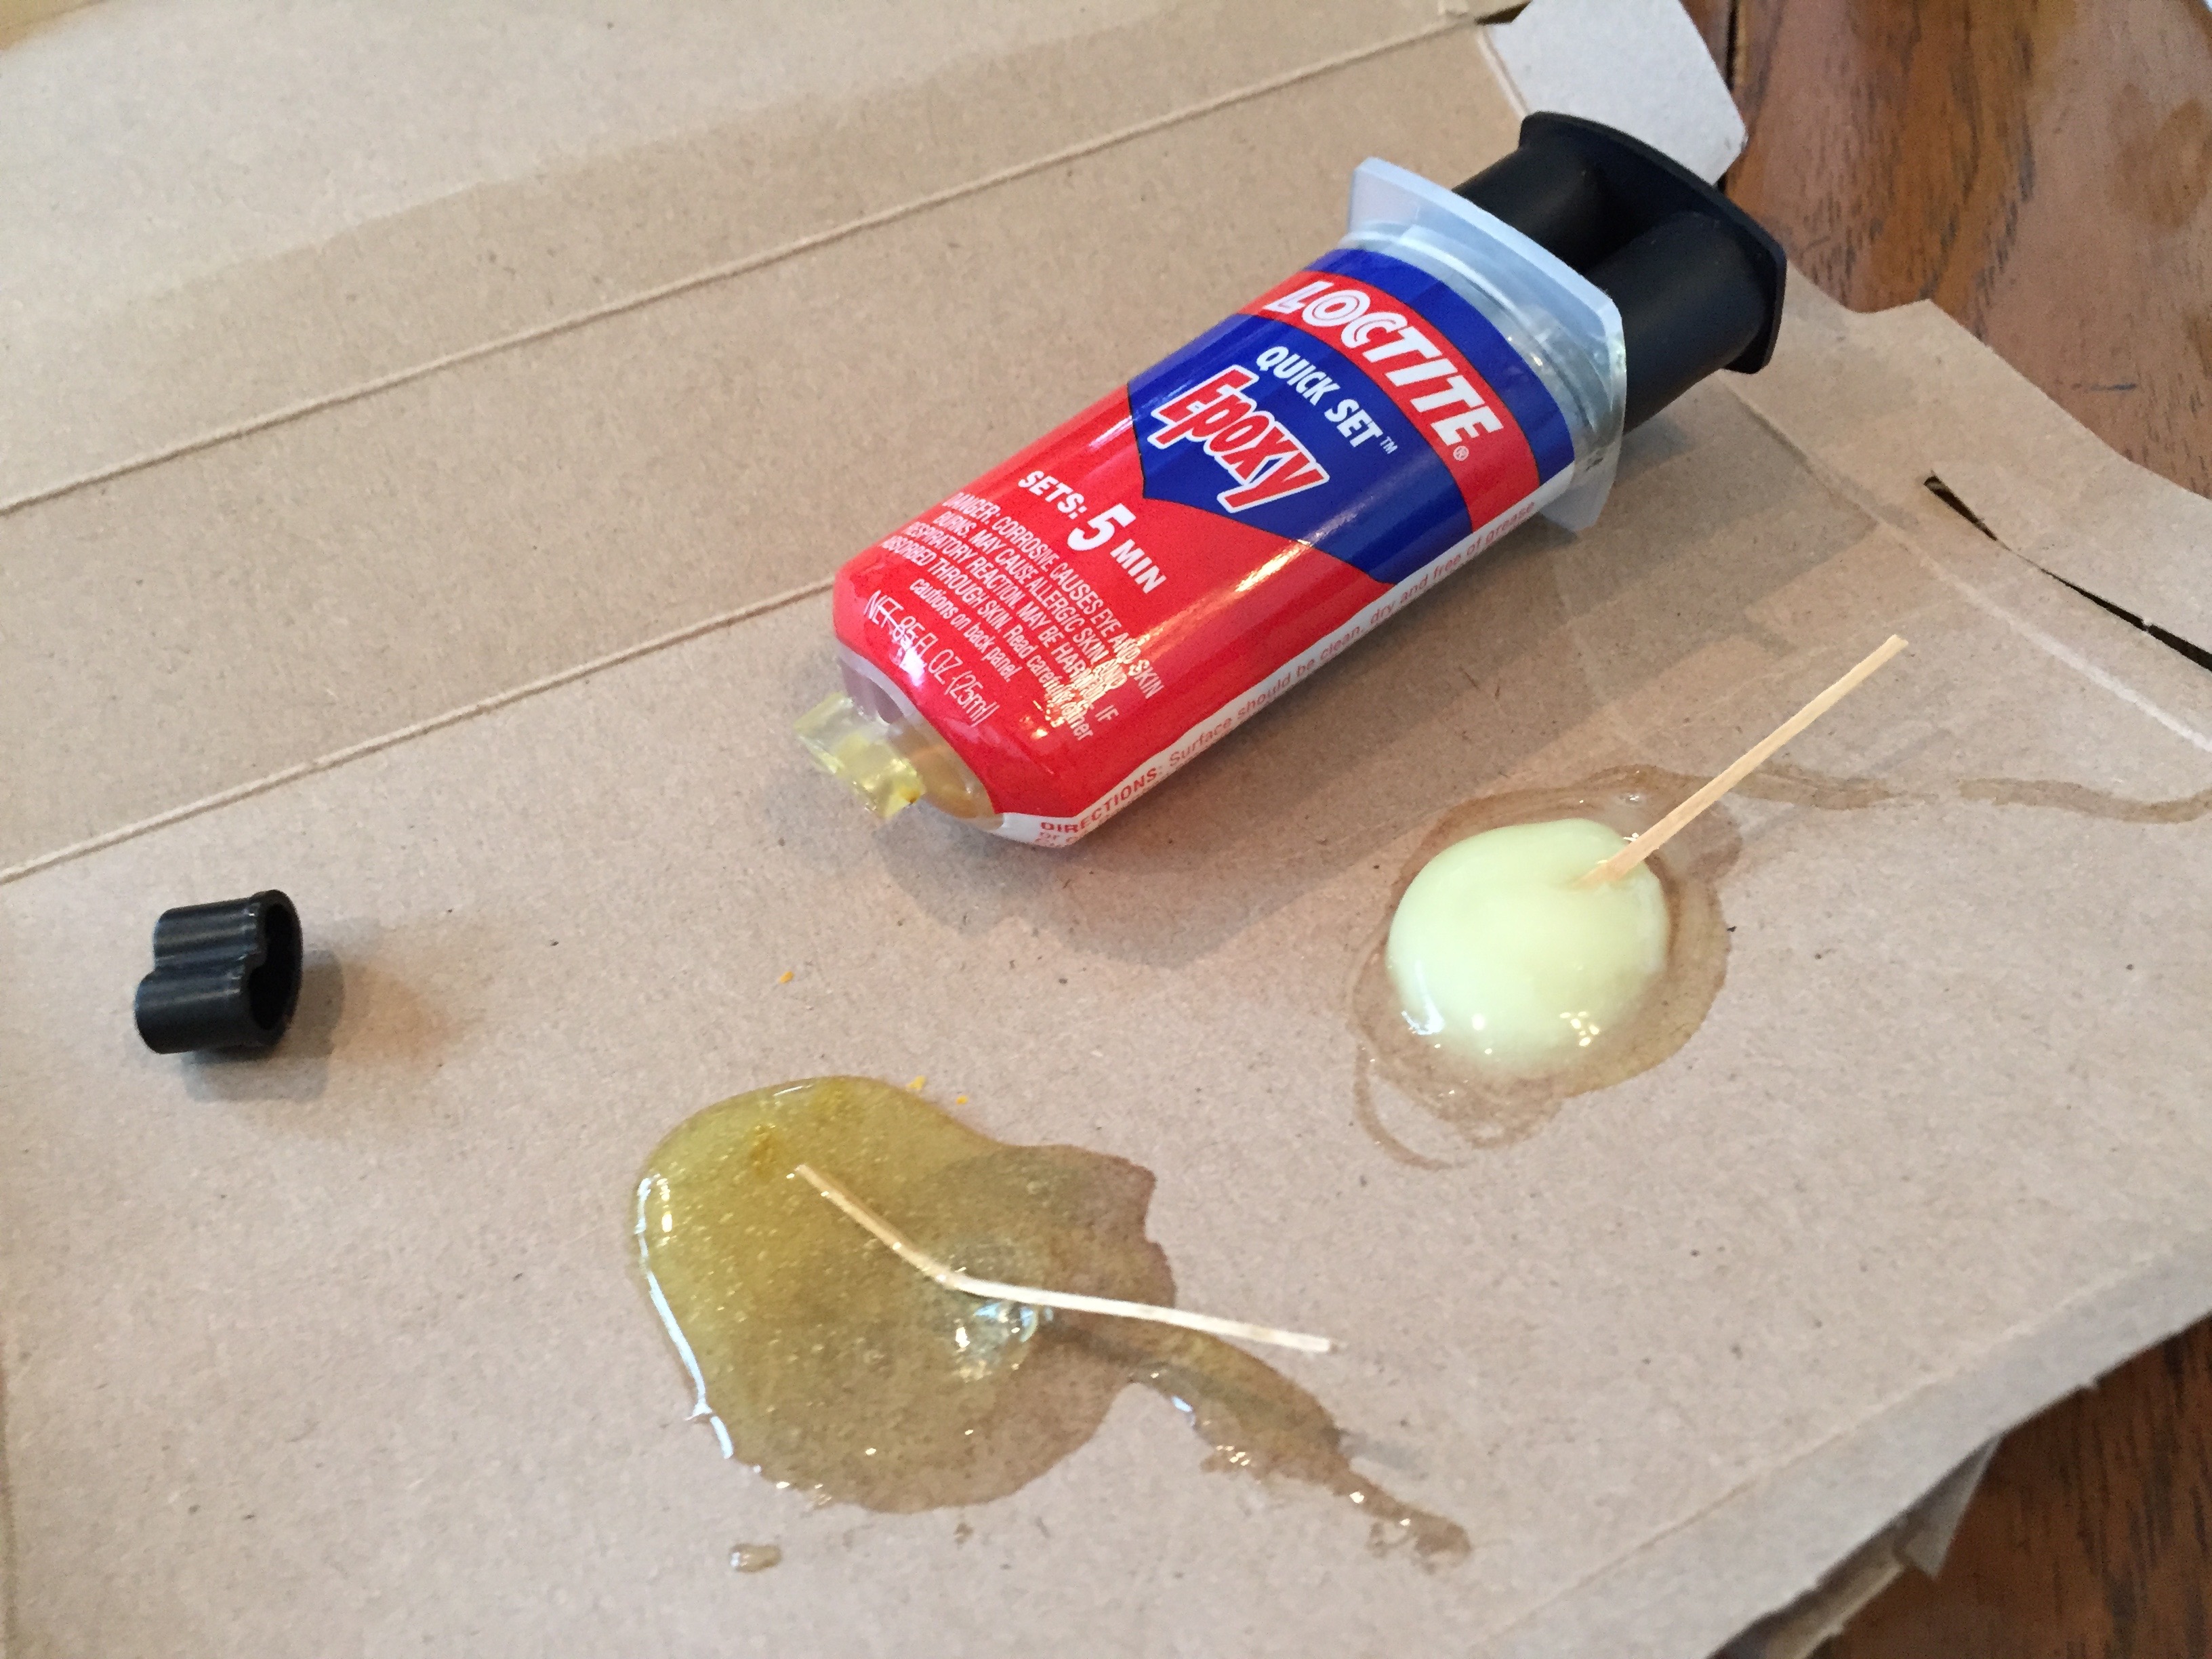
Had this epoxy in the shop for some time, had to see if it was still good…it was.
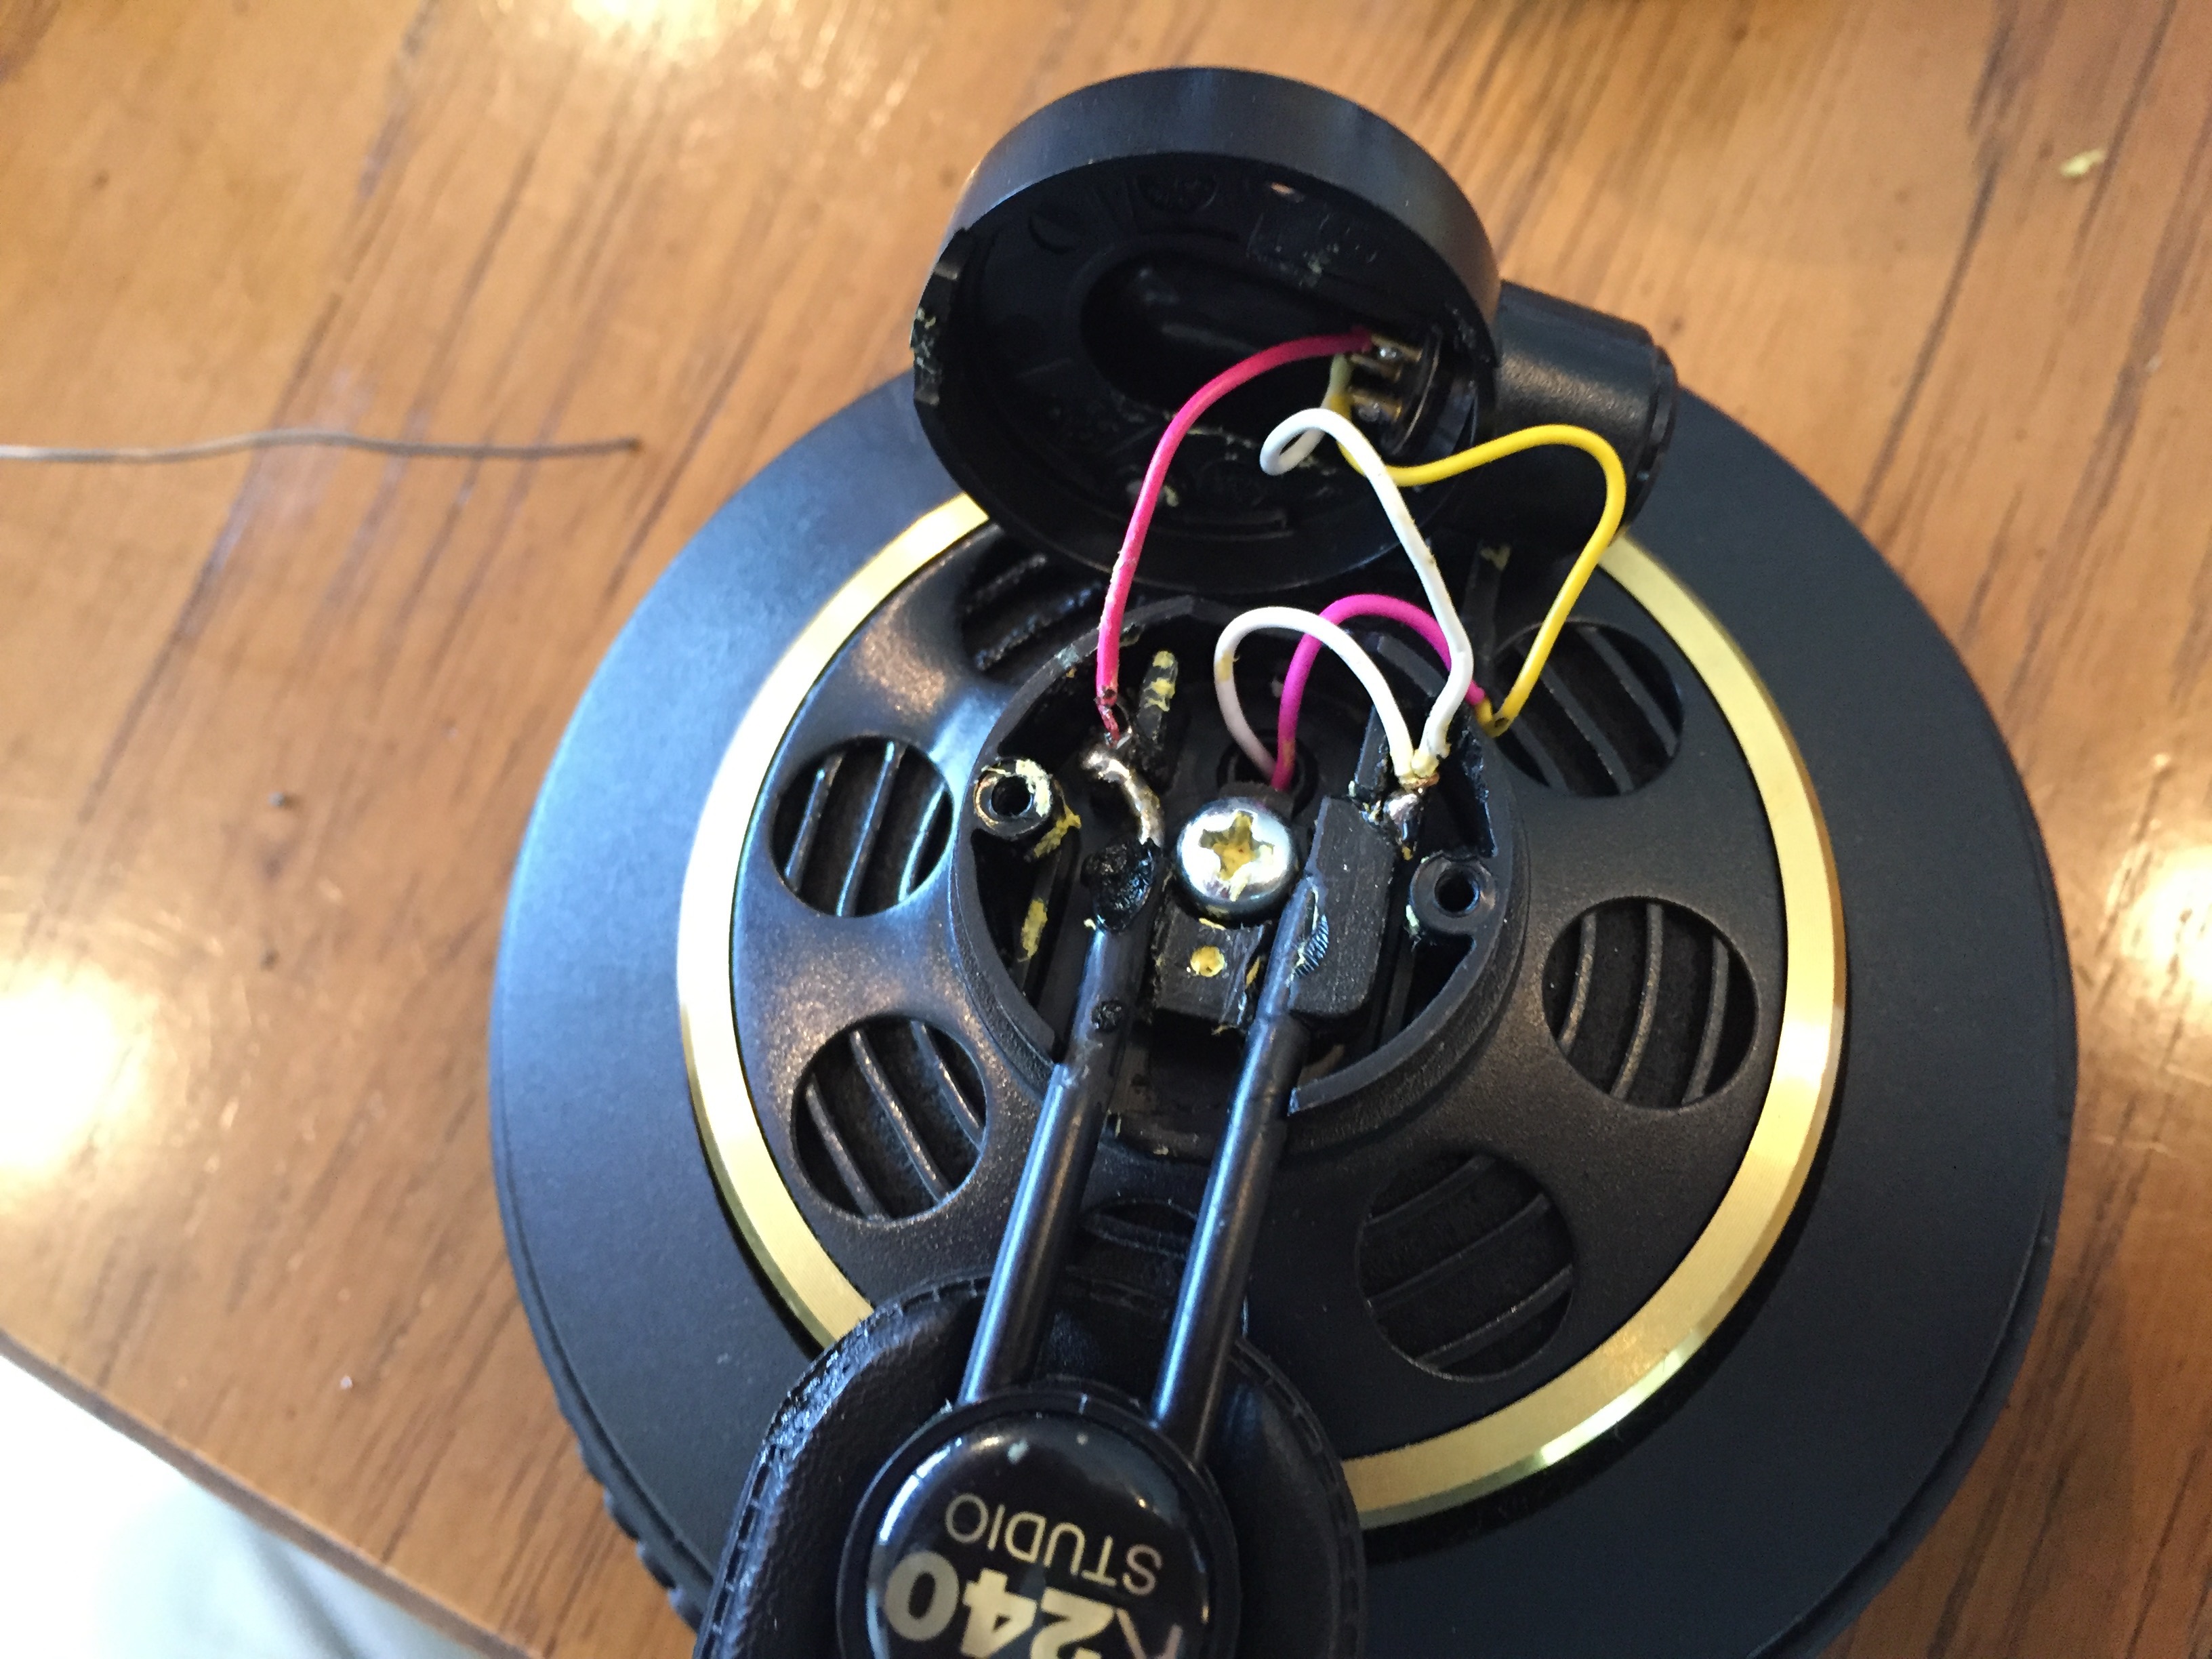
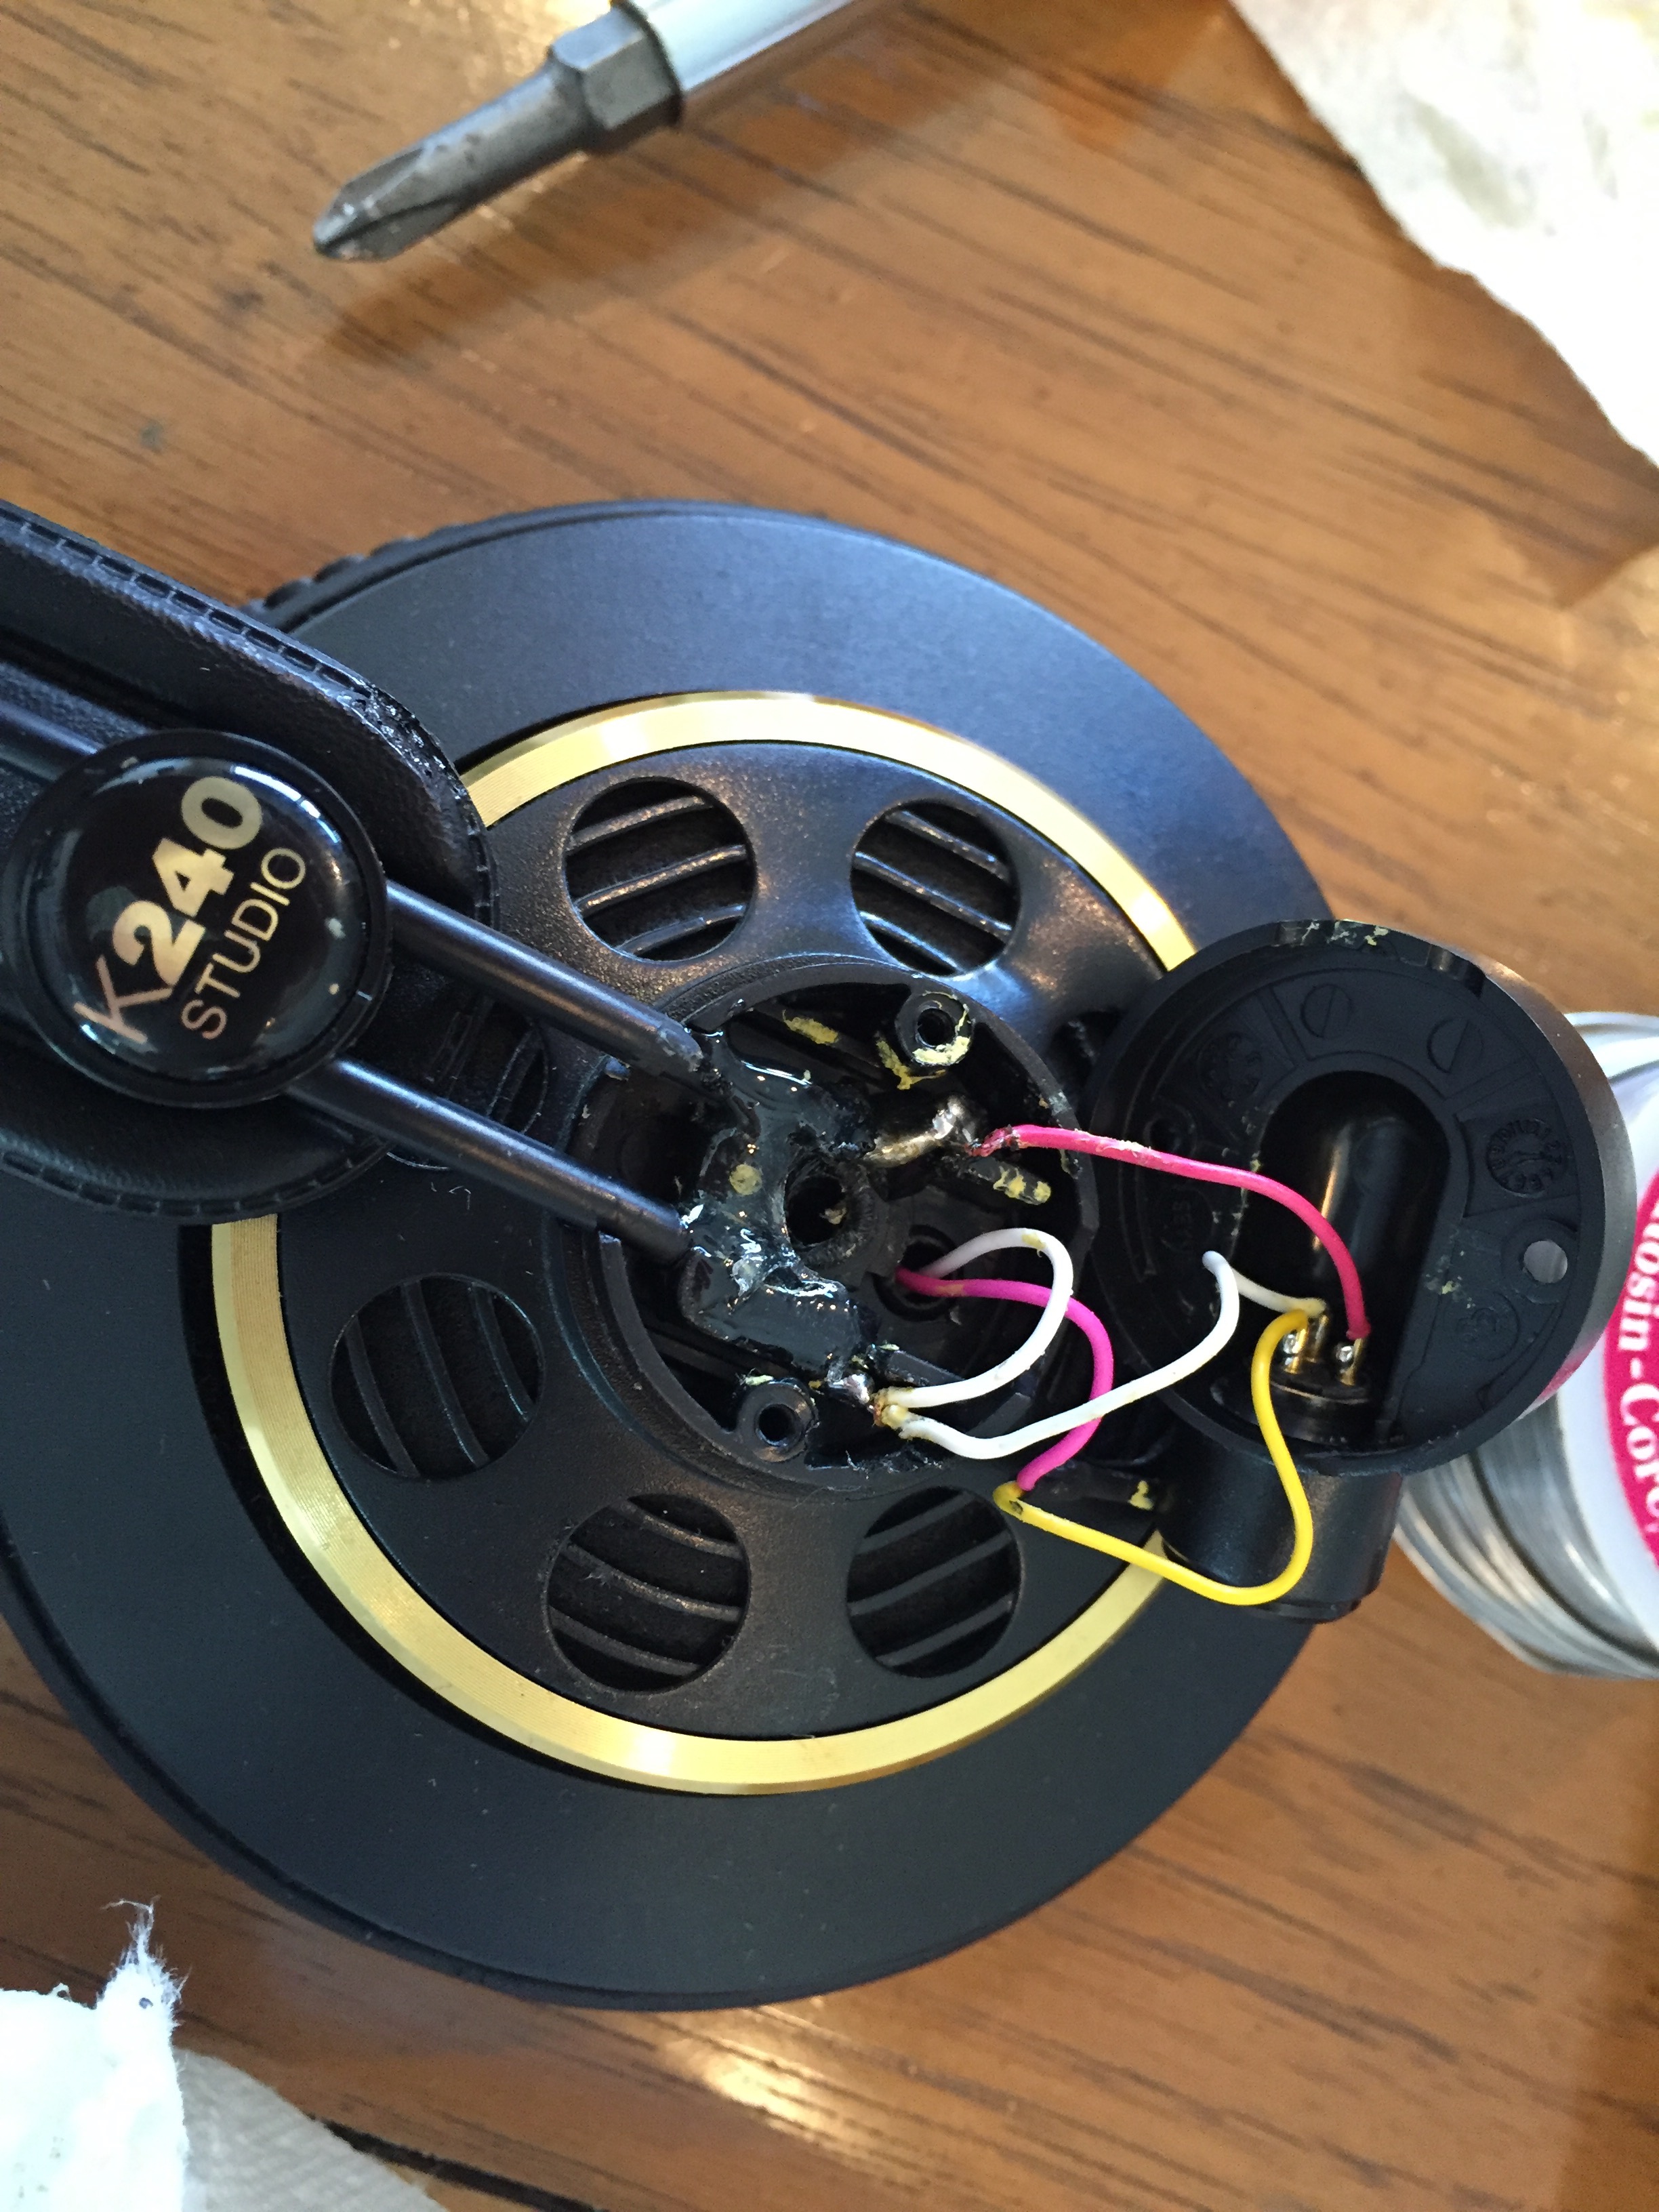
All cleaned up, new solder joints on both bars and ready for epoxy.
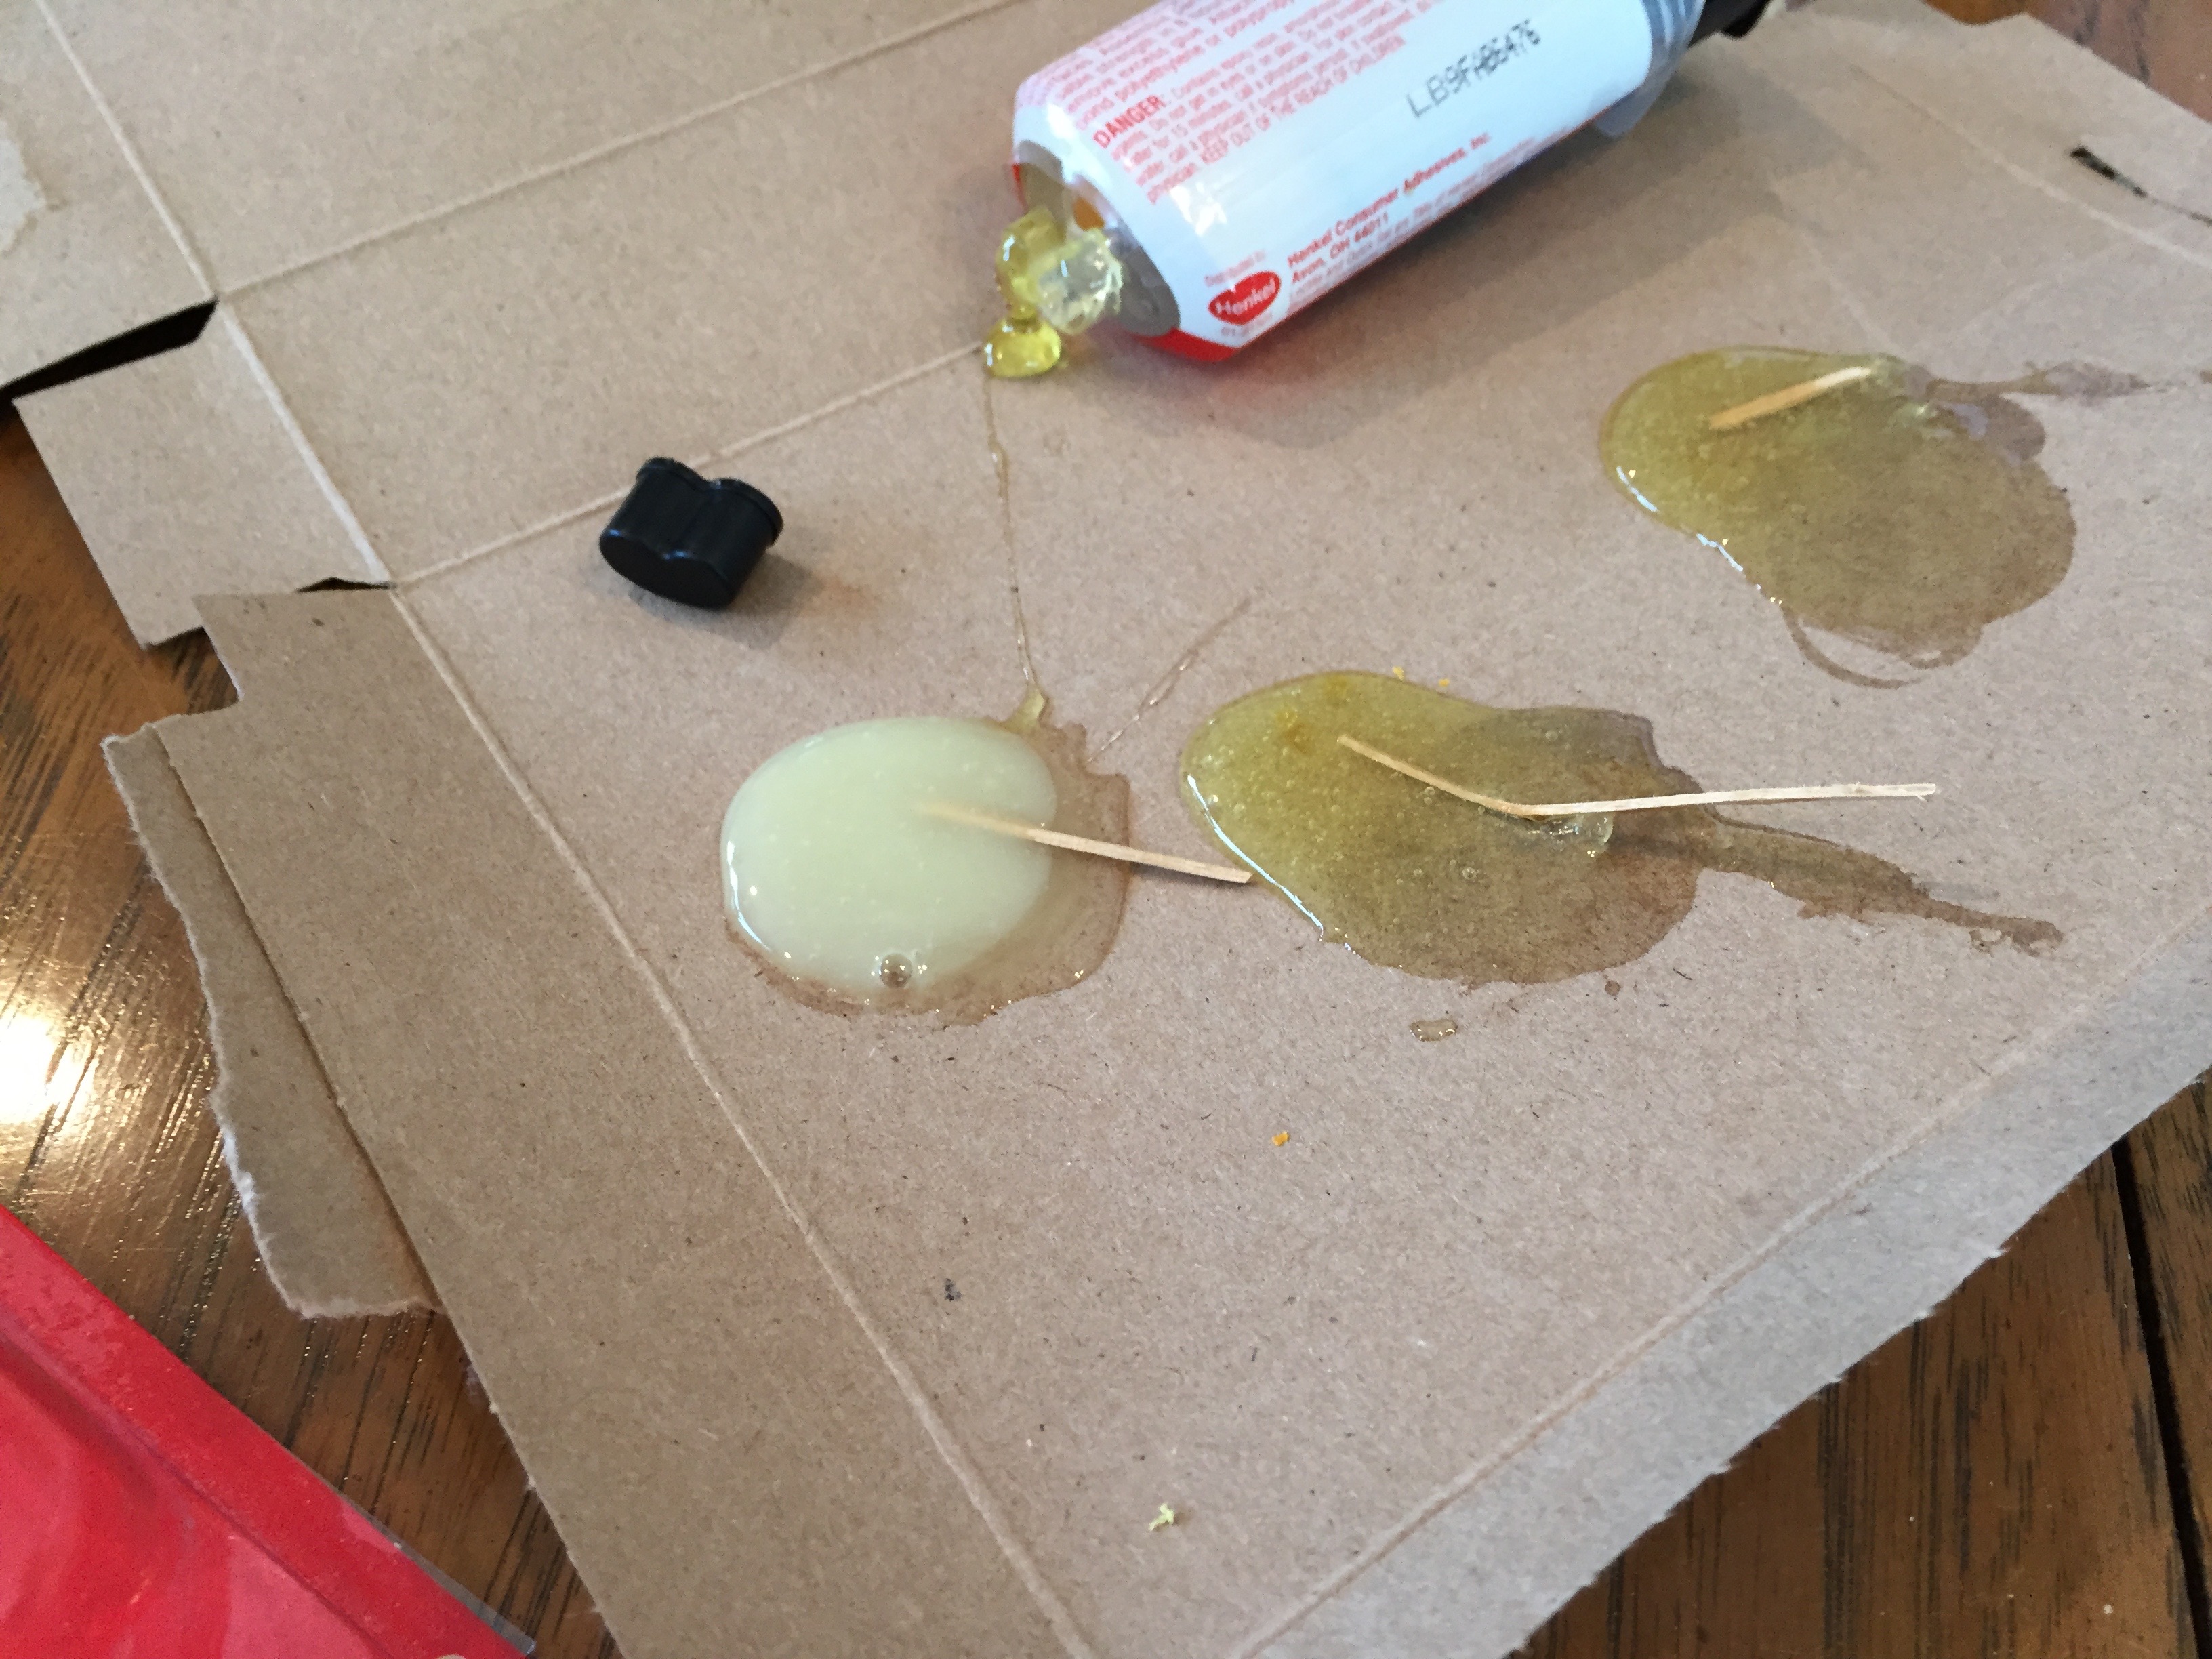
The epoxy cures so quickly, I had to make a third batch for the actual repair.
After putting on the epoxy:
After burying the screw, I thought that might not be so good if there were ever another attempt to remove the bars again, so while the epoxy was still gummy, I removed the screw, cleaned up the area and removed the epoxy from the screw.
After cleaning the screw off, I gave it a light coat of petroleum jelly and put it back in.
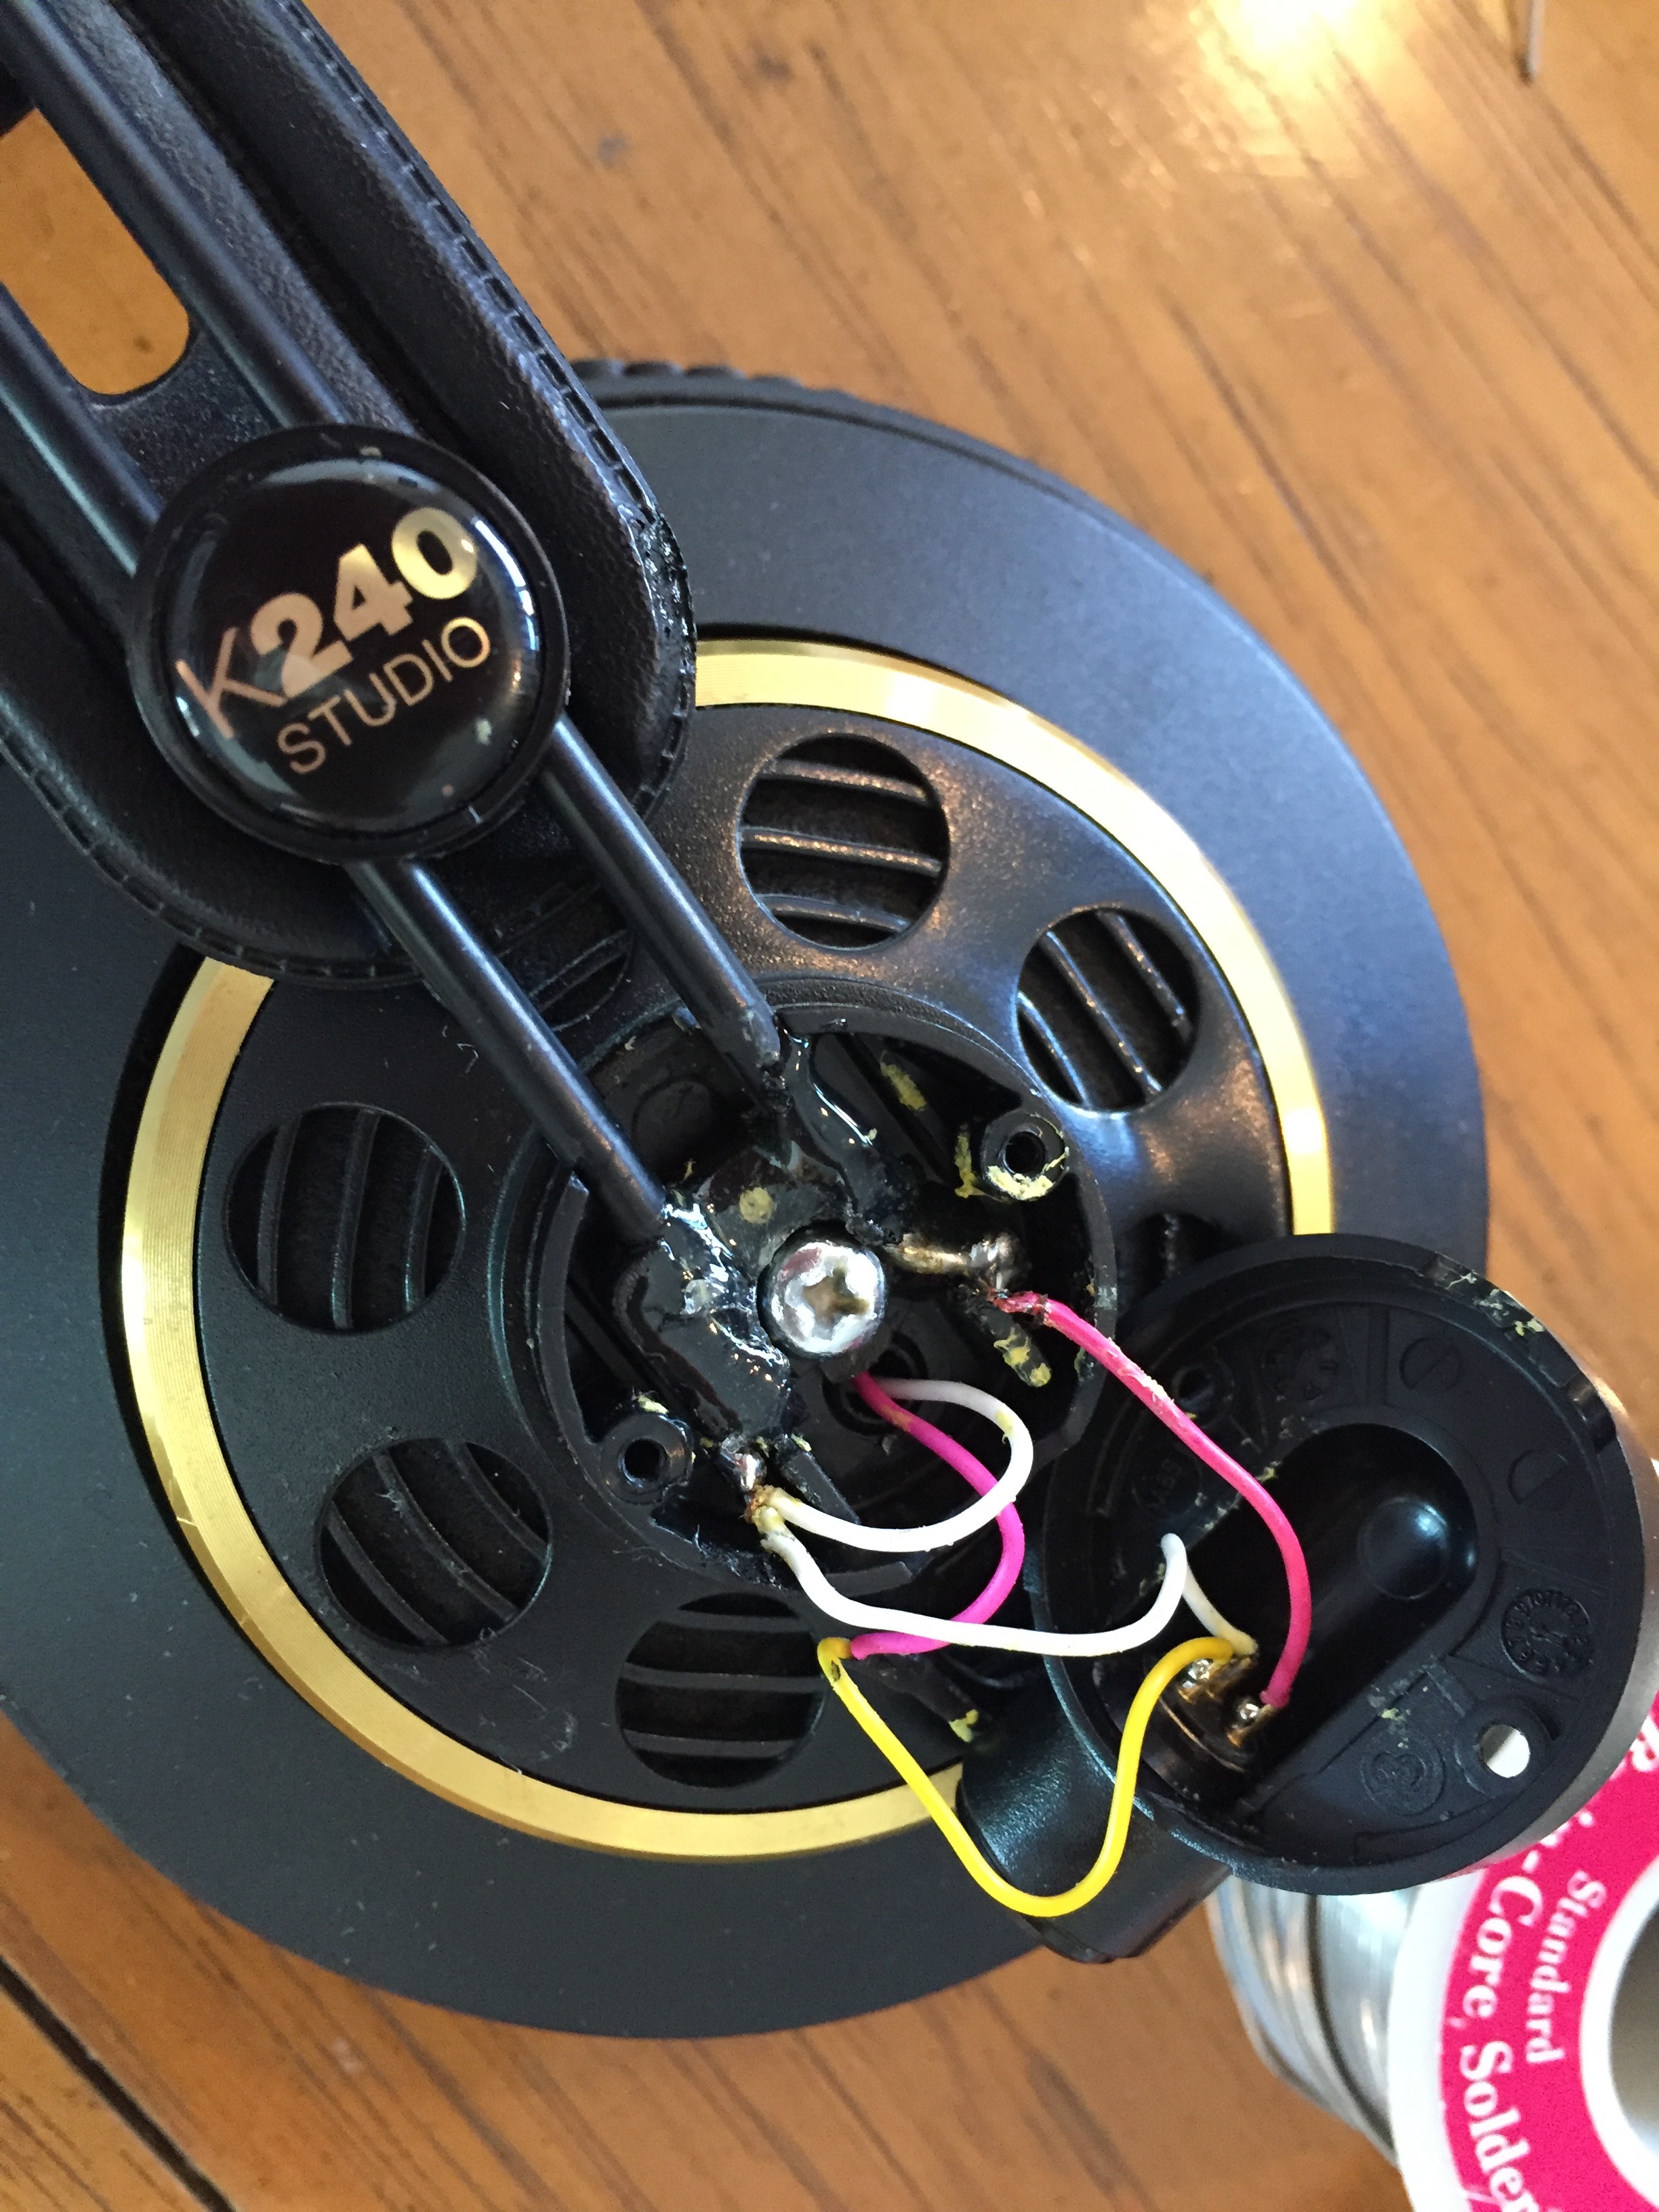
Here’s one last look inside before re-assembly:
Time for some final re-assembly after 20 minutes or so…
And back in the box for an hour to cure.
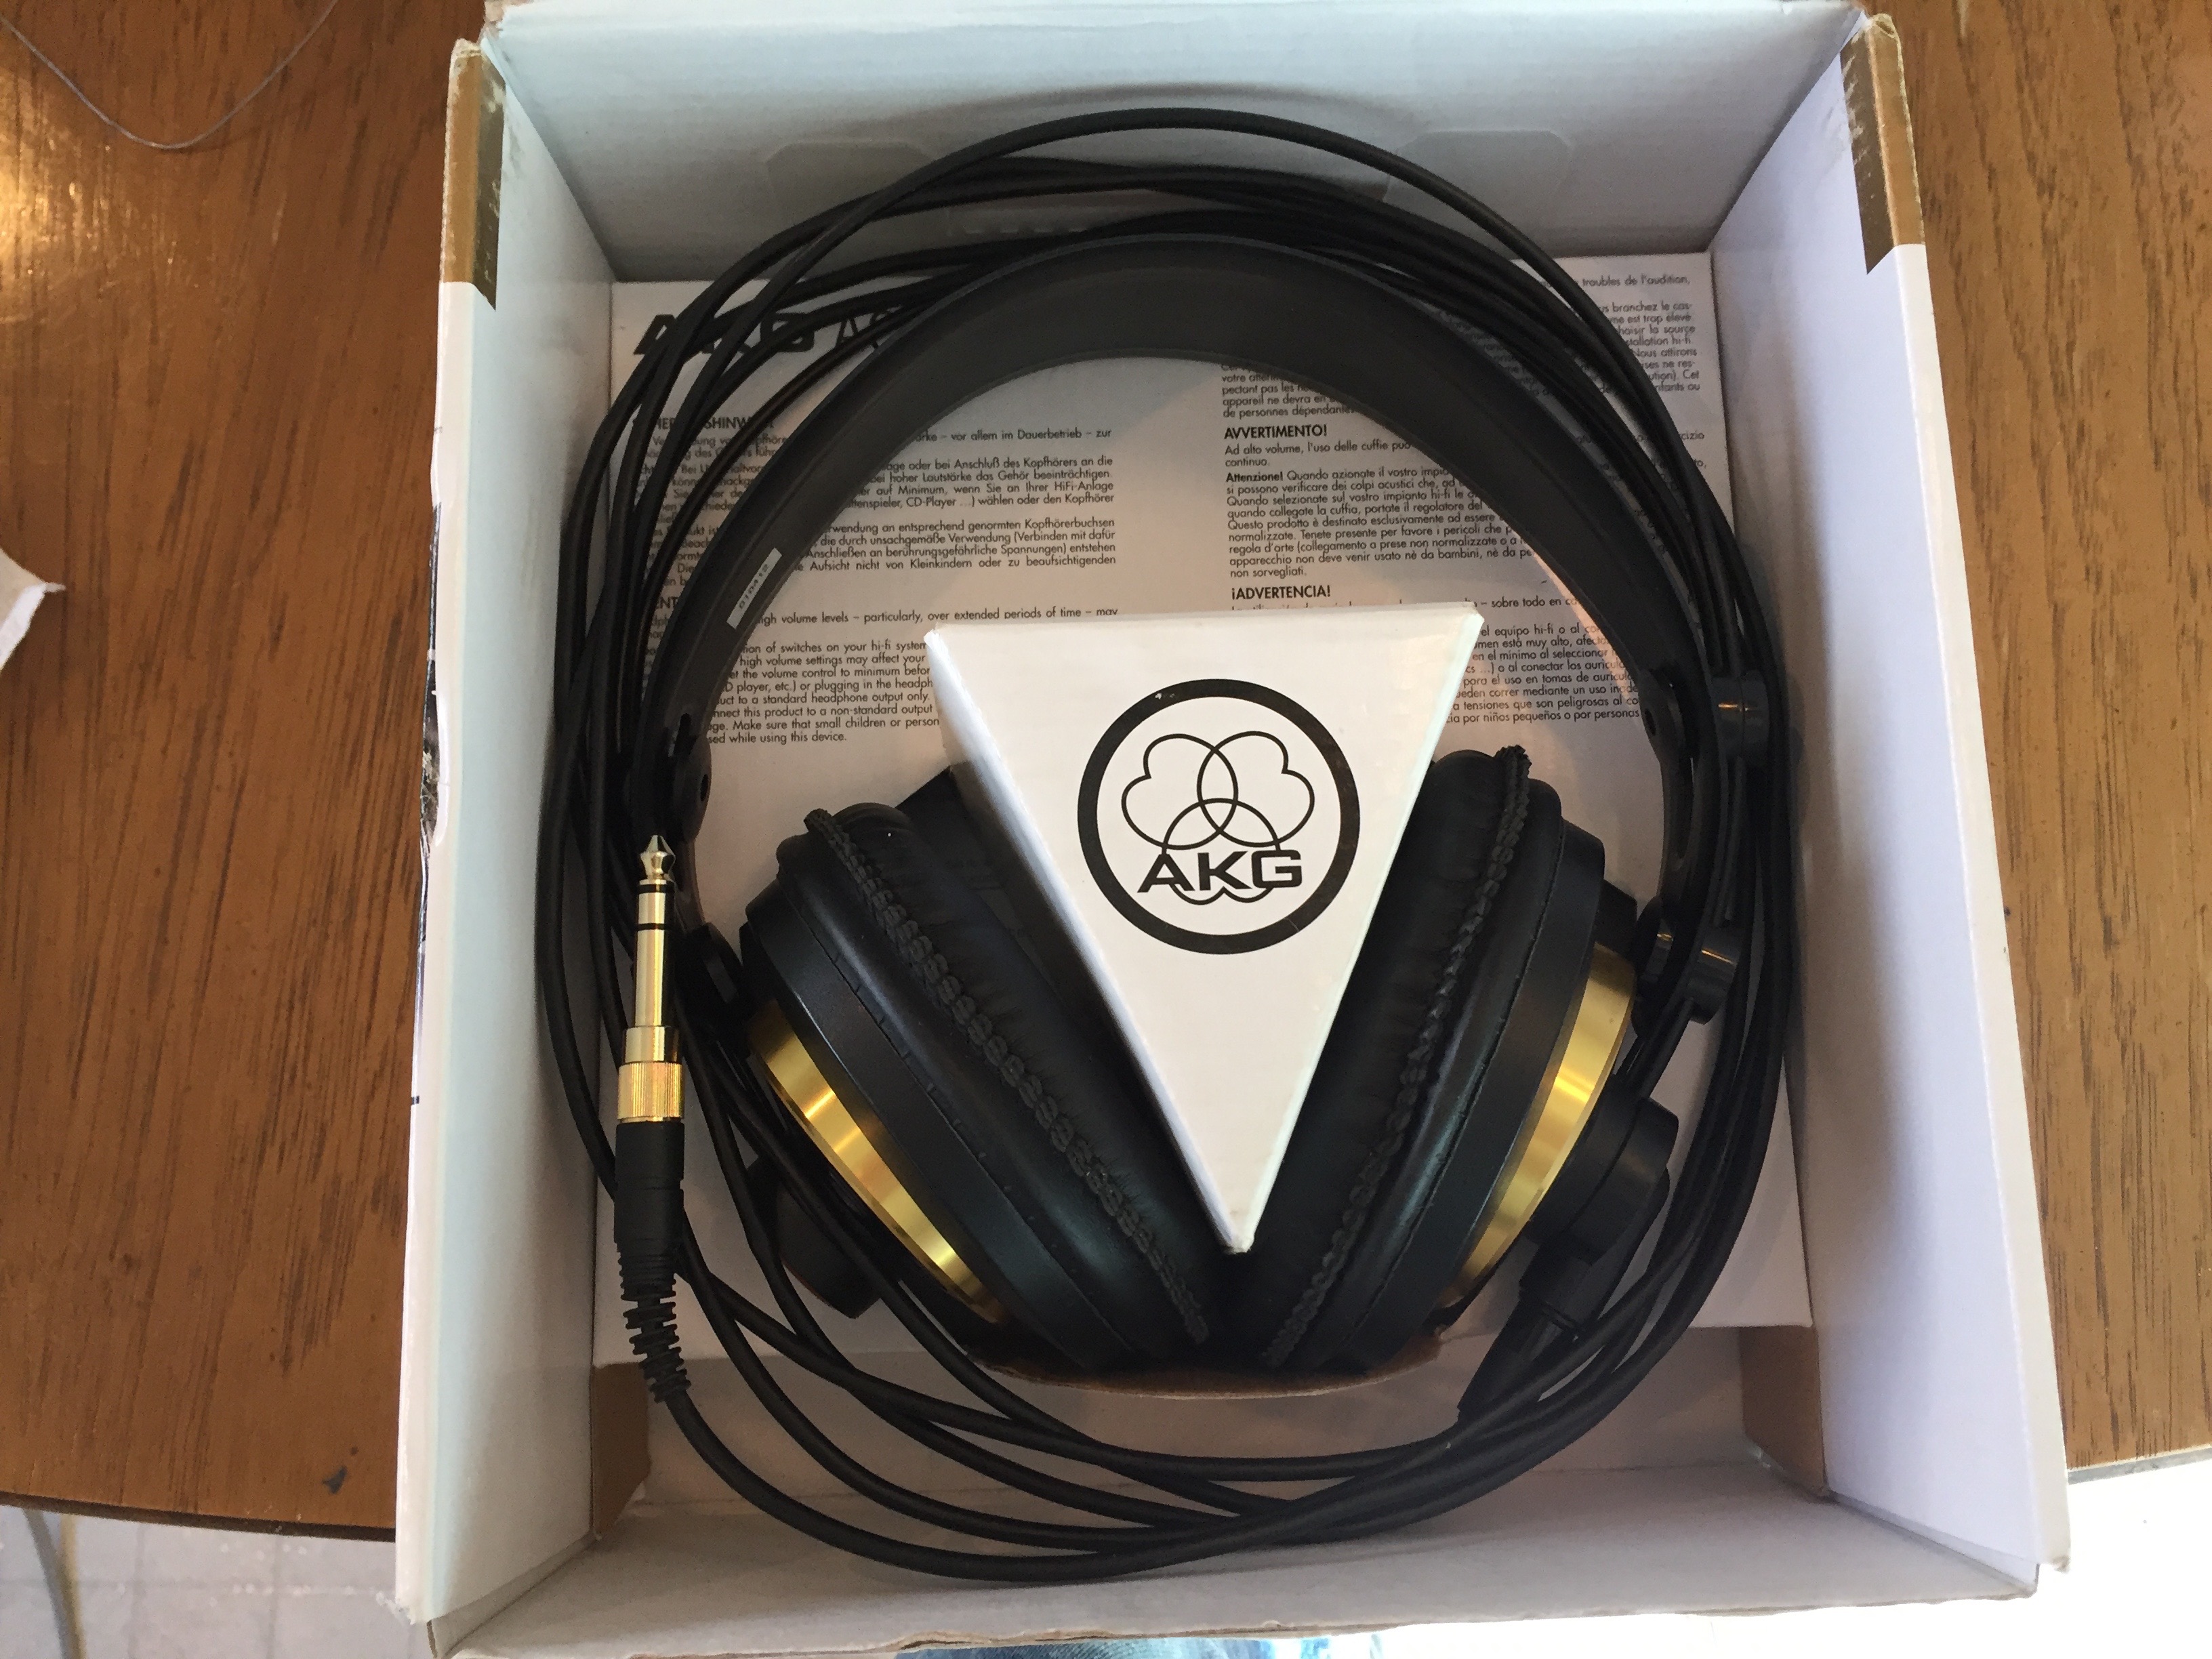
After one final test, call it done…good as new!